Active Actions Configuration
This section describes the process of creating, editing, and deleting active actions of the Incident Manager module.
To configure active actions, navigate to Main Menu - Module Settings - Incident Manager - Active Actions.
Creating Active Actions
The creation of active actions for incidents and aggregations is identical. One active action can be created and used for both aggregations and incidents.
To create a new active action, click the + (add) button on the control panel, after which the form for creating a new active action will open.
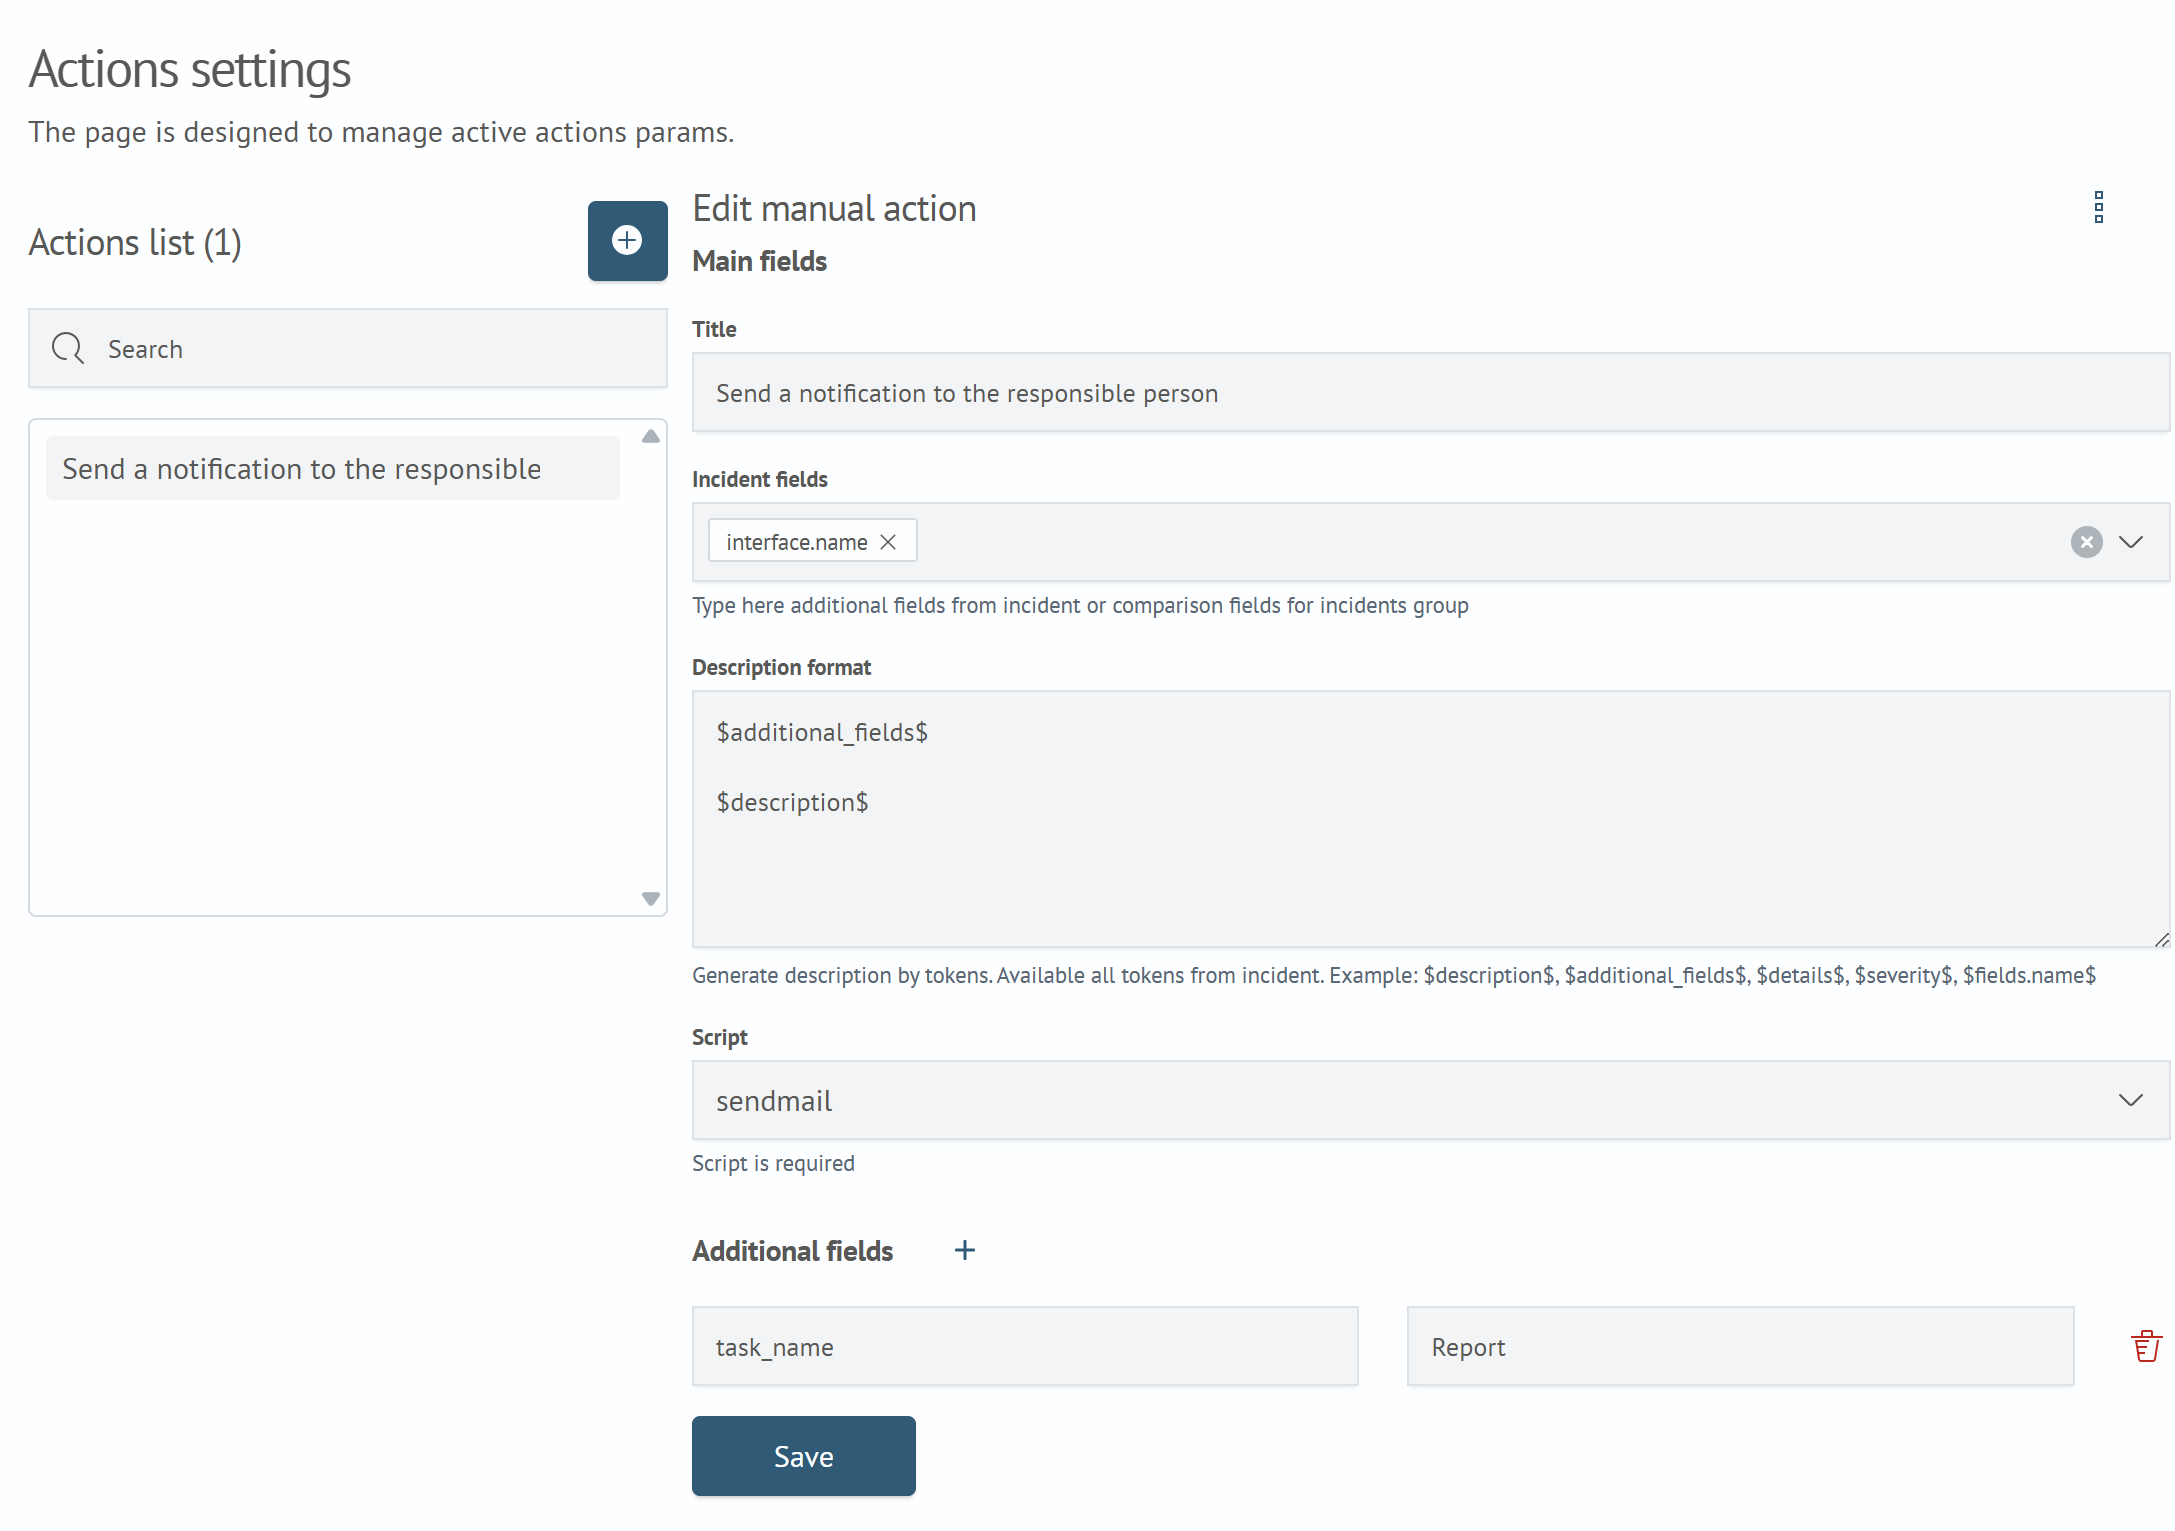
To create a new active action, the following parameters should be filled:
- Name — the display name of the active action, which is used in the menu of available actions for incidents or aggregations
- Incident Fields — a set of fields, the presence of which determines the applicability of the active action for a specific incident or aggregation
- Incident Description Format — a description template displayed in the active action application window and supporting the use of incident or aggregation tokens
- Script — an executable file that defines the logic of the active action. The script is called when the action is performed manually or automatically within the incident Workflow and receives incident or aggregation data as input, as well as additional parameter values
- Additional Fields — a set of custom parameters passed to the active action script when executed. To add a field, click the
+button next to theAdditional Fieldsheader, enter the field name and its value. Field values support the use of tokens for additional fields and comparison fields in aggregations
Editing Active Actions
Editing active actions is available by clicking on the desired active action in the list. The editing procedure includes setting parameters similar to creating an active action.
Deleting Active Actions
A deleted active action becomes unavailable for execution and cannot be restored.
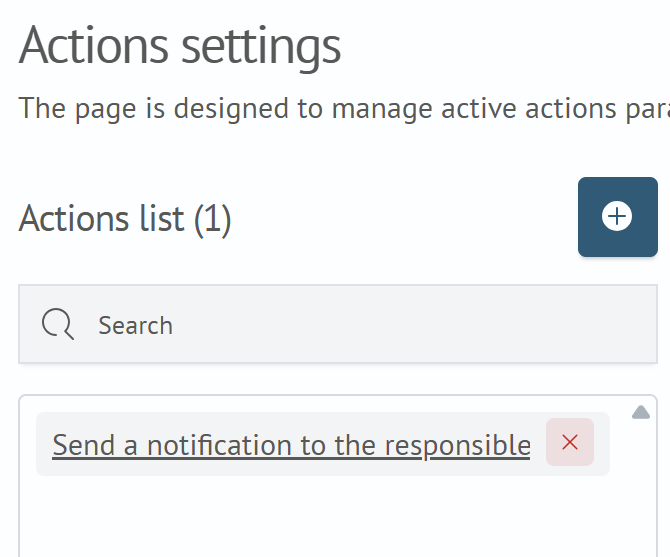
To delete an active action, find it in the list and click the red button with the X symbol.
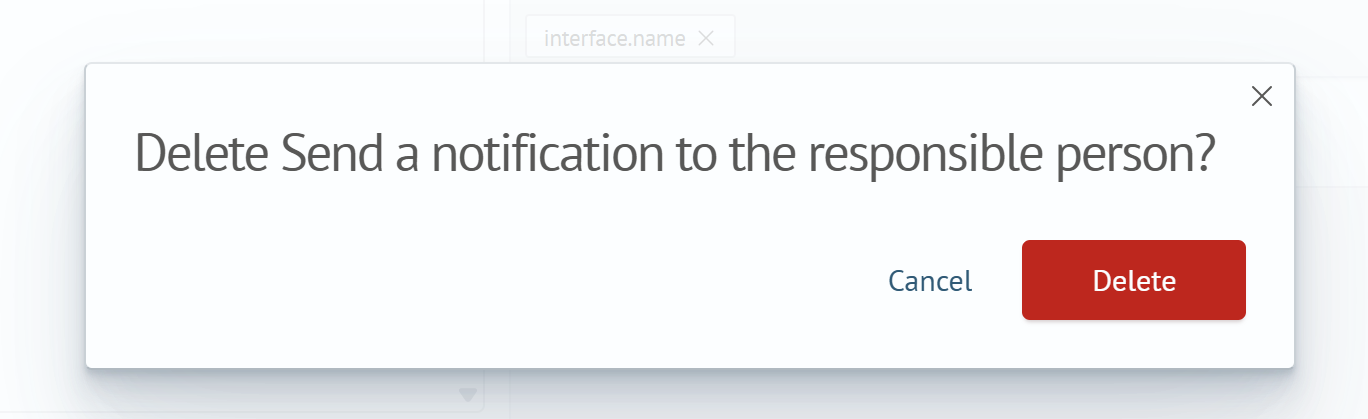
In the opened window, click the Delete button.
Upon successful deletion, a corresponding notification will appear on the screen.