Data Visualization
Overview
Visualizations provide the ability to express data obtained from search results in a visual and user-friendly way.
Visualizing Search Results
SAF allows you to work with visualizations directly within the search section after executing a search query.
When using data visualization commands in a search query, the query result will automatically open in the Visualization tab.
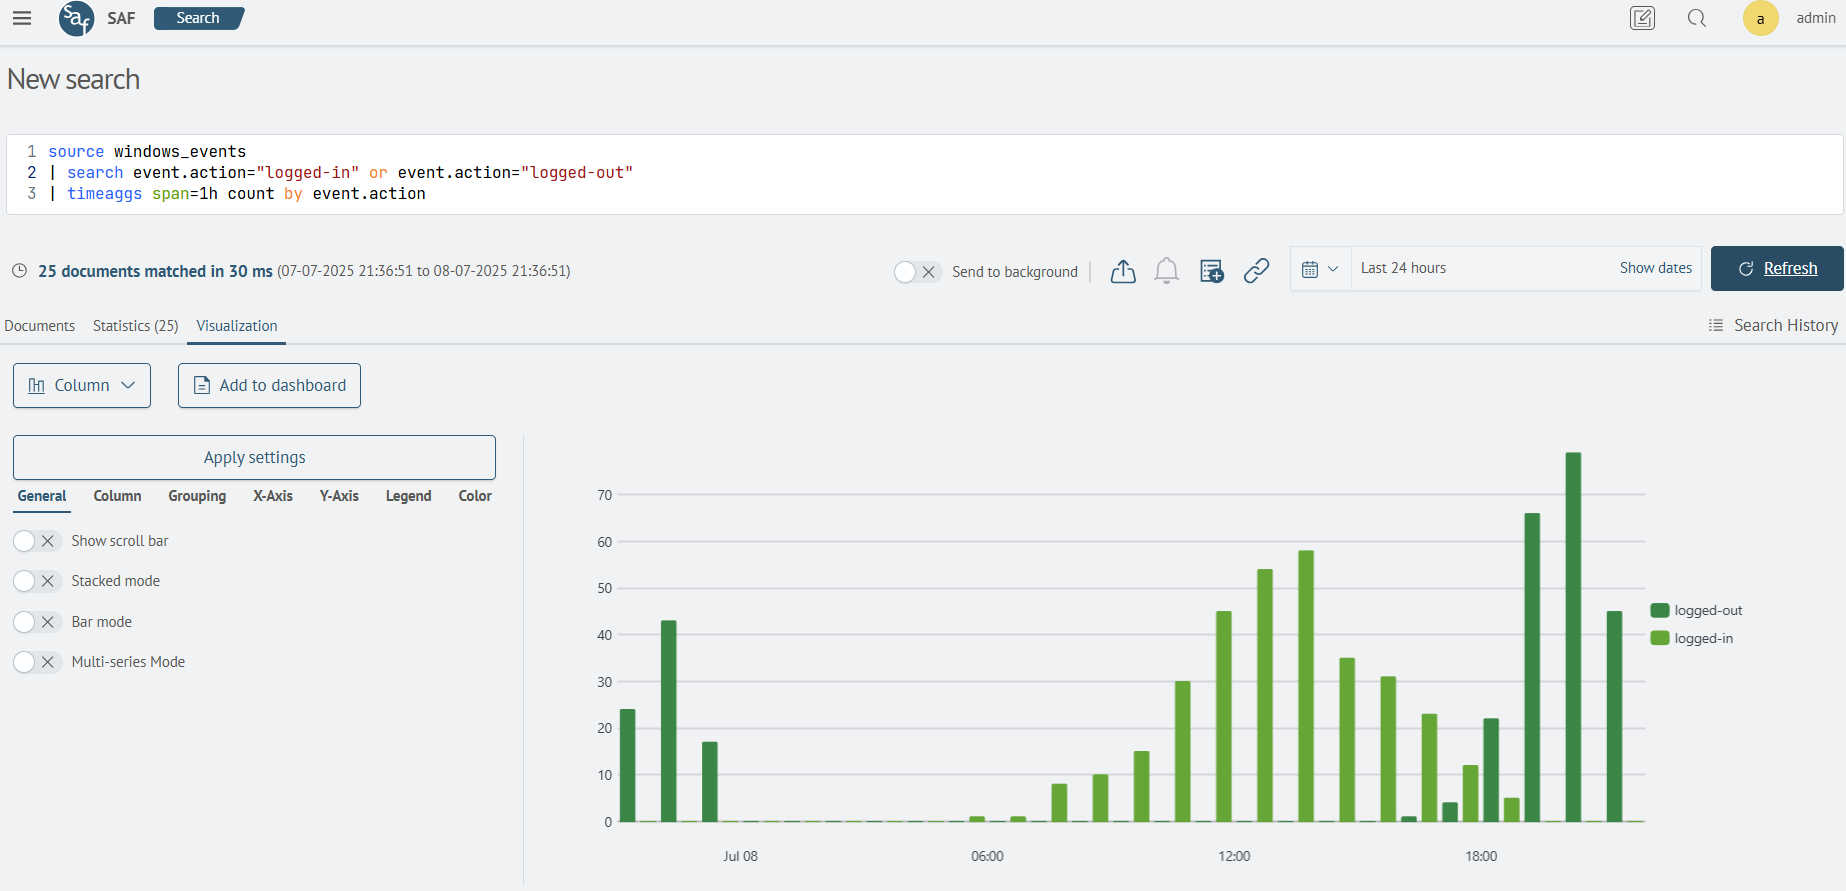
This tab provides the ability to configure the visualization type and its parameters.
From here, you can also add the visualization to a dashboard as a panel. To do this, click the Add to Dashboard button and fill in the fields in the dialog box.
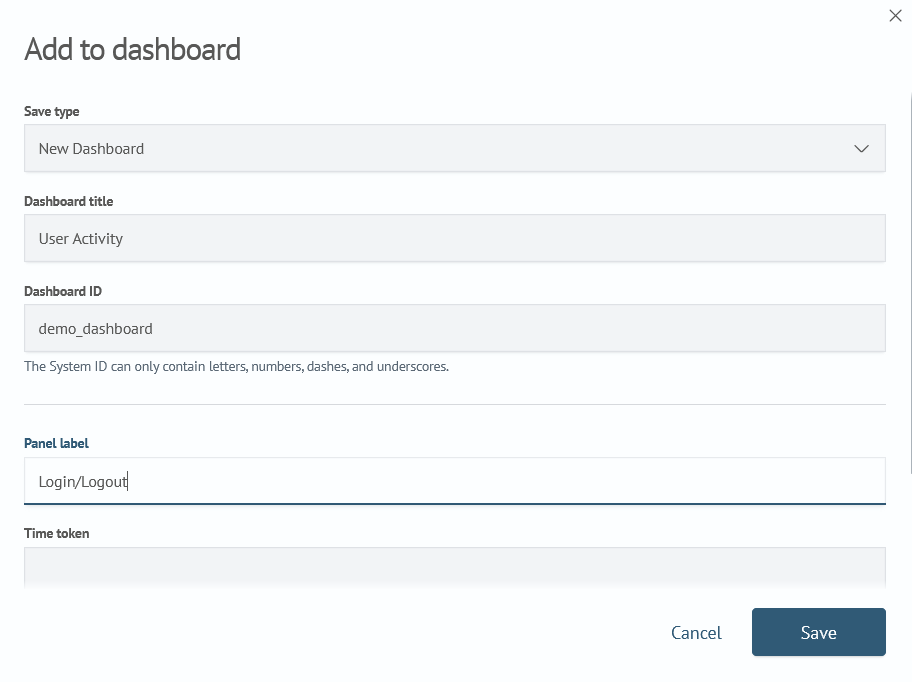
After completing these steps, the panel will be added to the dashboard.
Working with Dashboards
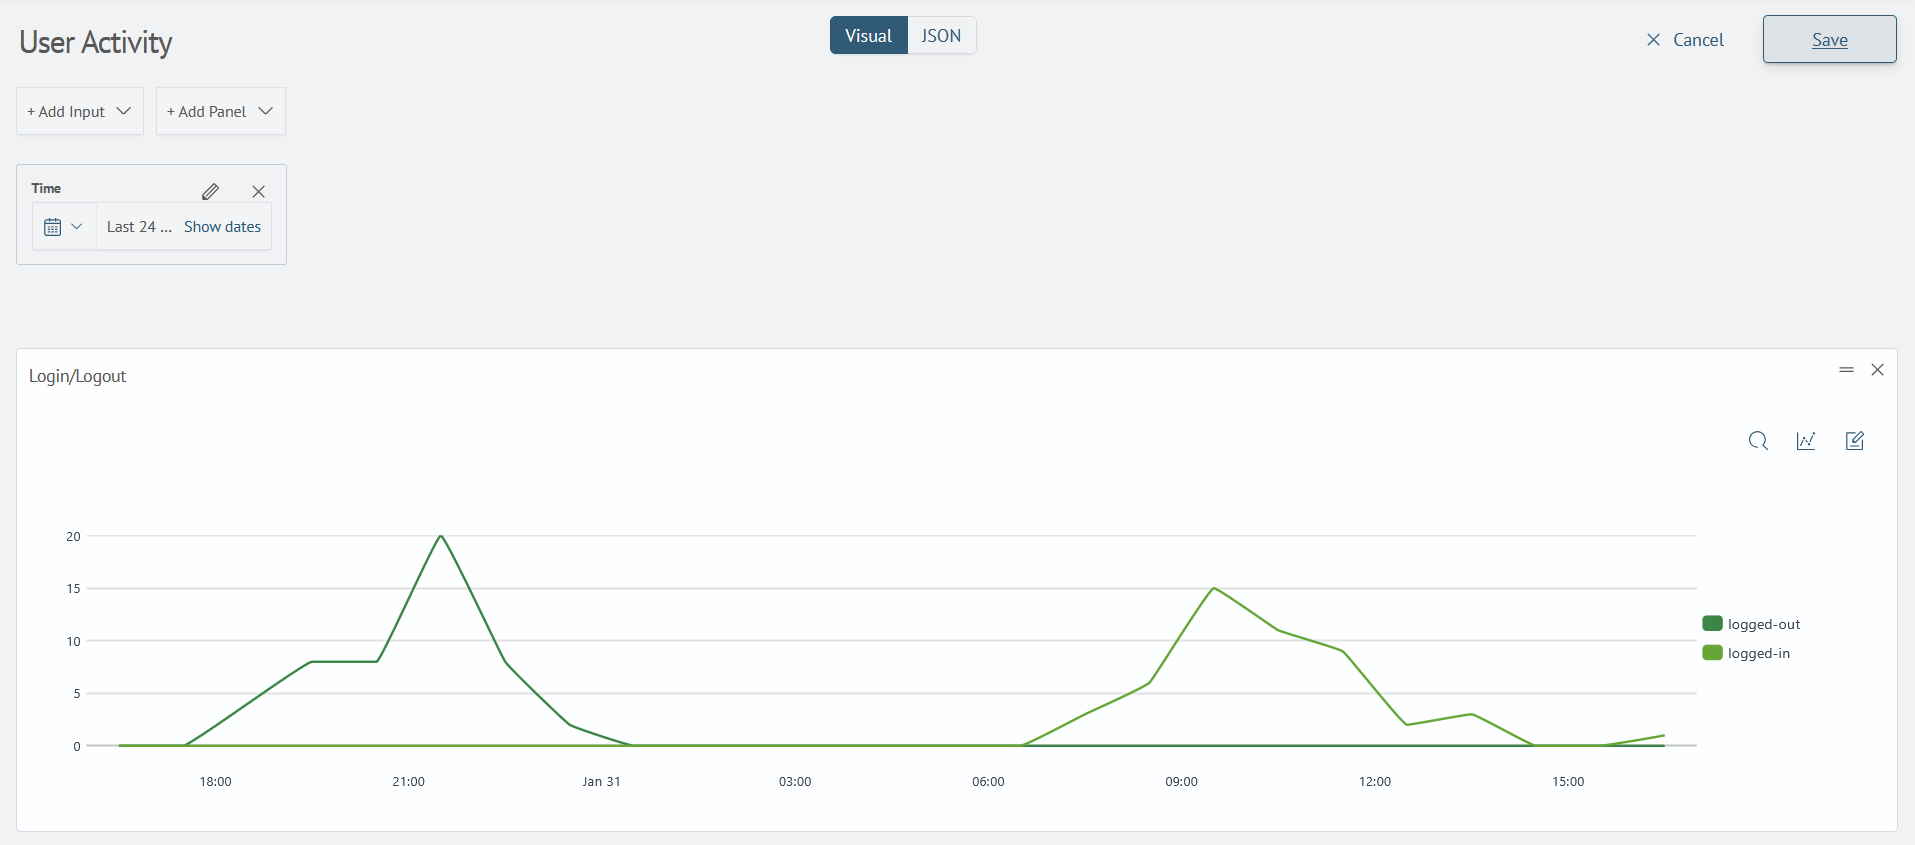
To see the entire list of existing dashboards, navigate to Main Menu - Core - Dashboards. Opening a dashboard from the list will display it in view mode. In the upper left corner of the page, there is a time filter that is added by default when a visualization is added to a new dashboard. This filter is responsible for the time interval relative to which the search queries forming the visualizations on the dashboard panels will be executed. However, this is not the only filter that can be configured on the dashboard.
To add new panels and filters to the dashboard, click the Edit button in the upper right corner of the page. After switching to edit mode, the Add Input and Add Panel buttons will appear. Each panel will display buttons for editing the query, changing the visualization type and settings, and it will also become possible to drag and drop panels for preferred placement.
Adding a Filter
As mentioned above, the time filter is not the only possible filter type.
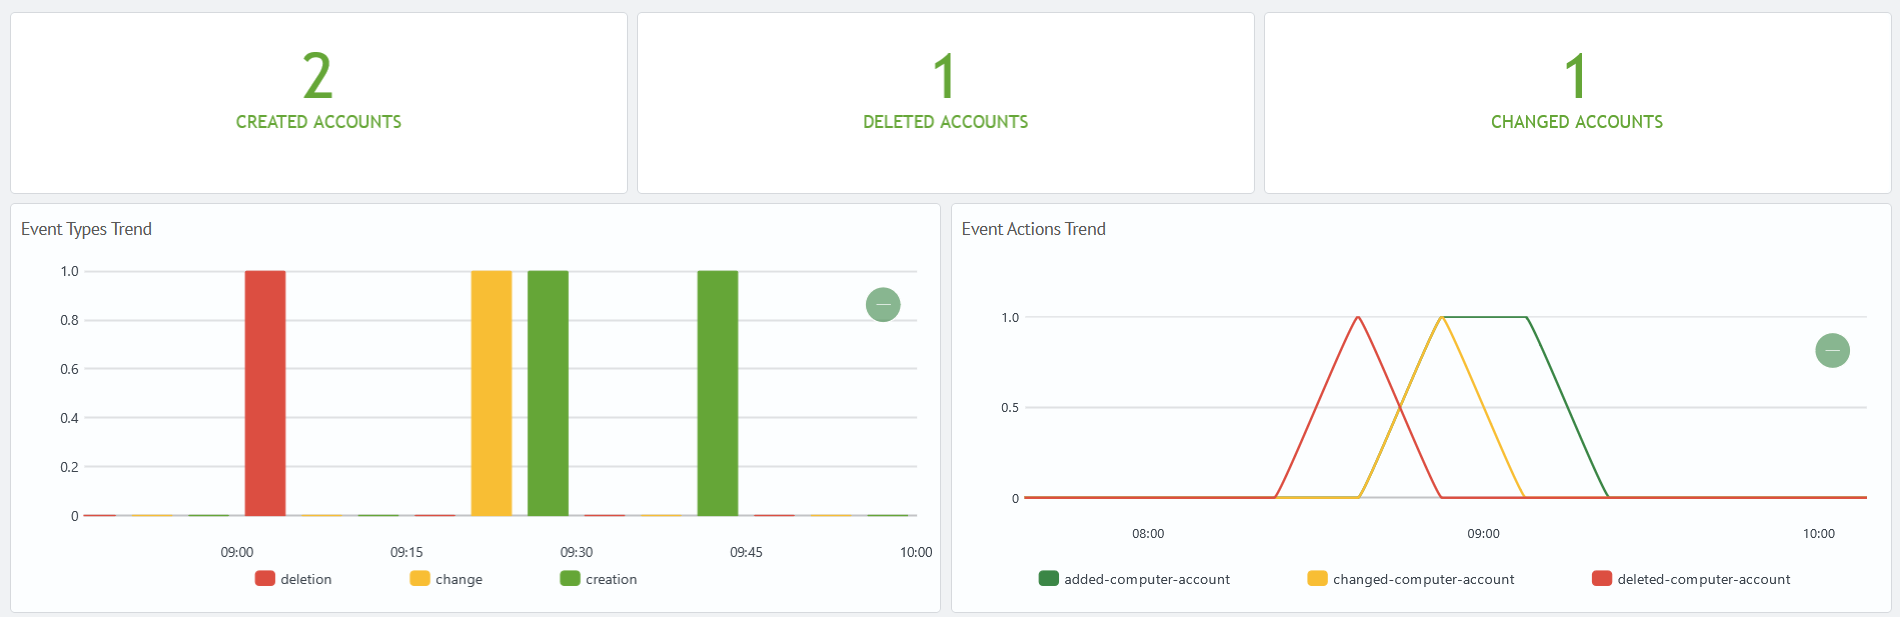
Suppose that in the current scenario, it is necessary to build a histogram of event distribution for a specific action (logged-in, logged-out, etc.) on the dashboard. This is where using a Selection type filter becomes convenient for selecting the desired action. To add a new filter, click Add Input and select the desired type.
After adding the filter, it needs to be configured correctly. To access the filter settings, click the edit icon (pencil) on the filter panel, which will open a side settings panel.

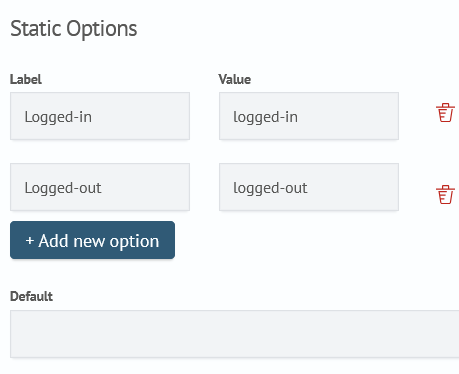
After setting the Name displayed in the filter header and the System Name used in search queries as the token name for substitution, you also need to define the options that will be available for the user to select. This can be done in two ways - through static and dynamic options.
Using the first approach is convenient when the number of options does not change over time or there is a need to use only a limited set of options.
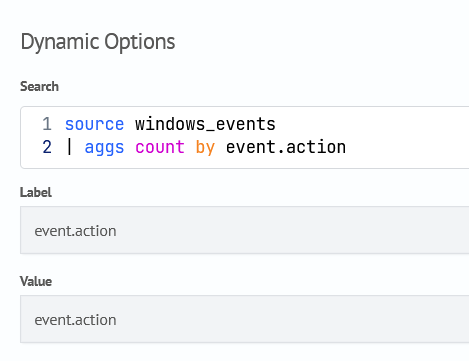
Using dynamic options allows you to automatically build a list of options based on a query. This automates the updating of the options list.
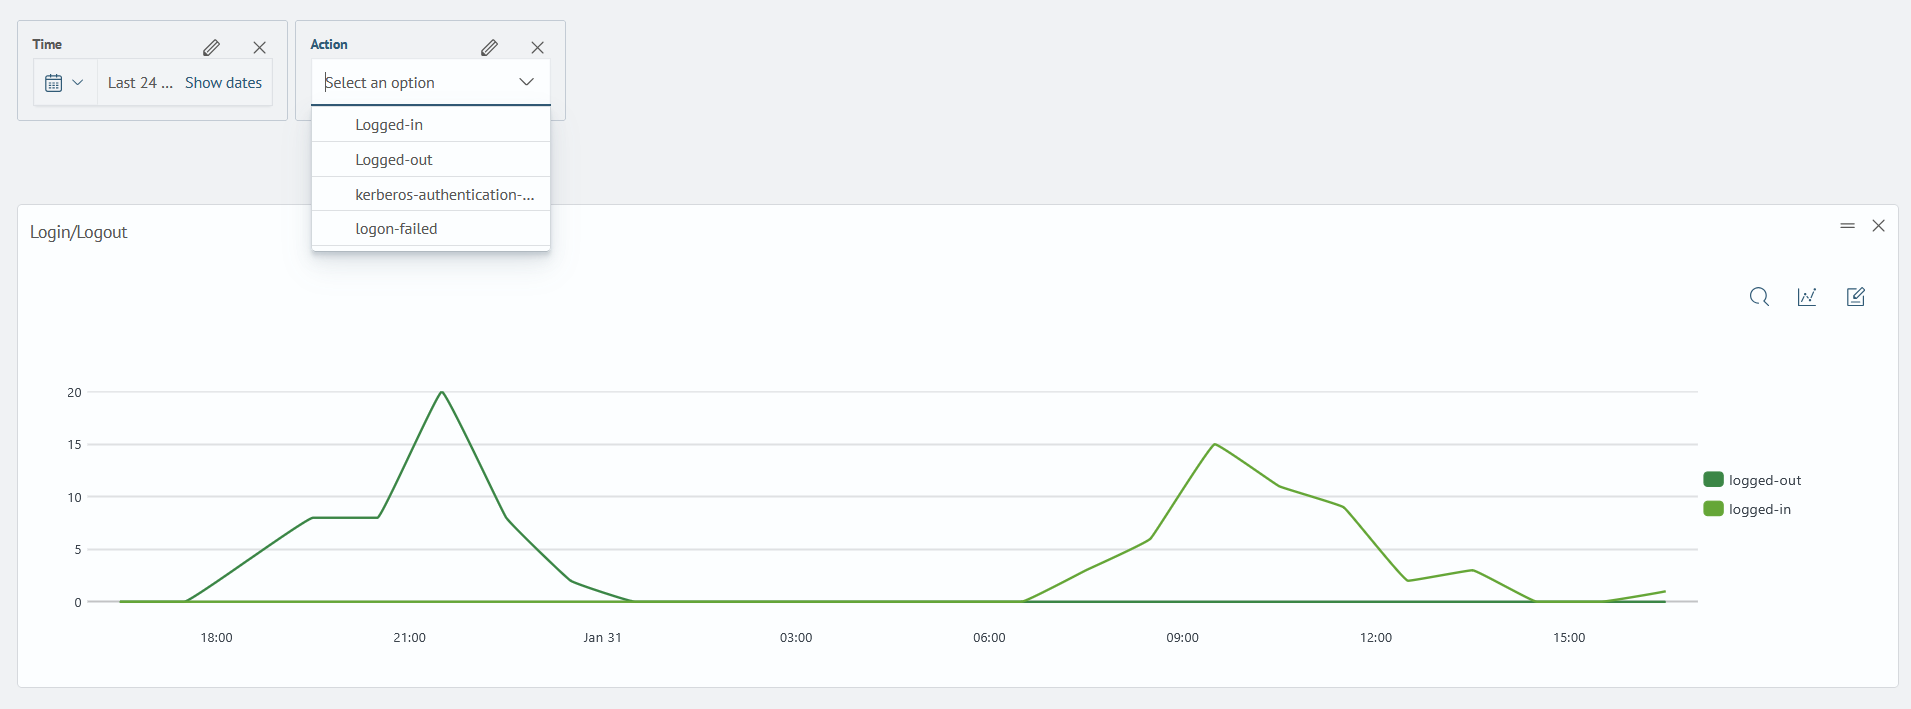
After configuring the filter, you can see that the selectable options have appeared in it. Currently, switching options does not yet affect the visualization panel. To link the filter and the visualization panel, you need to embed the System Name defined in the filter into the search query of the visualization panel.
To change the visualization's search query, click the magnifying glass icon - .
The current search query looks like this:
source winlog
| search event.action="logged-in" or event.action="logged-out"
| timeaggs span=1h count by event.action
Replacing it with the following will link it to the filter added earlier:
source winlog
| search event.action="$action$"
| timeaggs span=1h count by event.action
The query above uses the dynamically calculated value $action$. When the selected option in the filter changes, the stored value will be automatically updated.
Thus, by selecting, for example, the Logged in option, the query is automatically transformed to the following:
source winlog
| search event.action="logged-in"
| timeaggs span=1h count by event.action
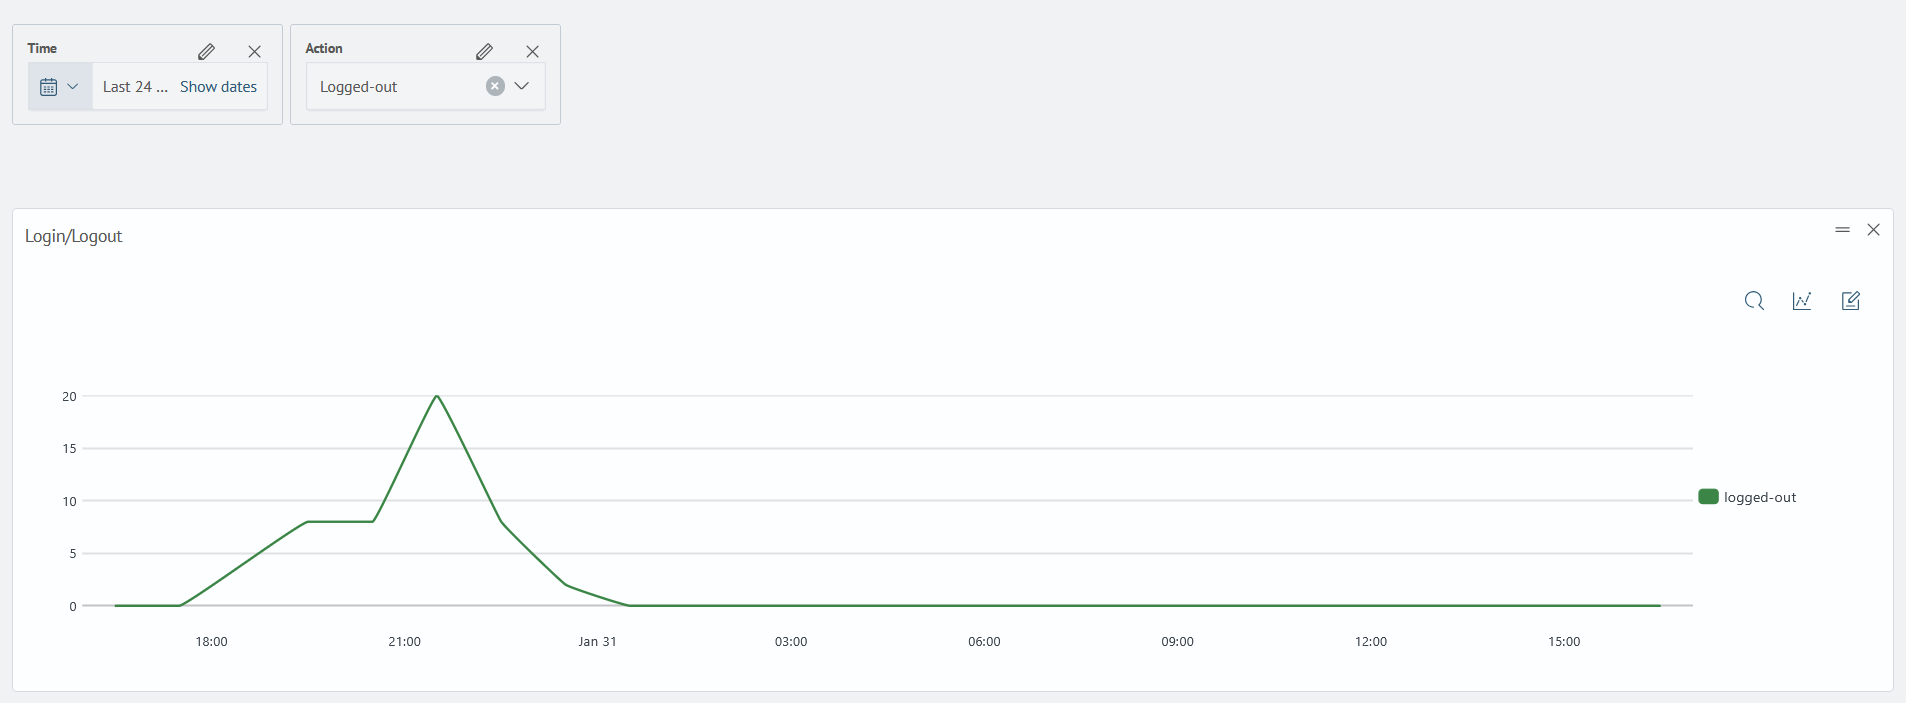
Accordingly, the visualization will now be built only for the selected action:
Adding a Panel
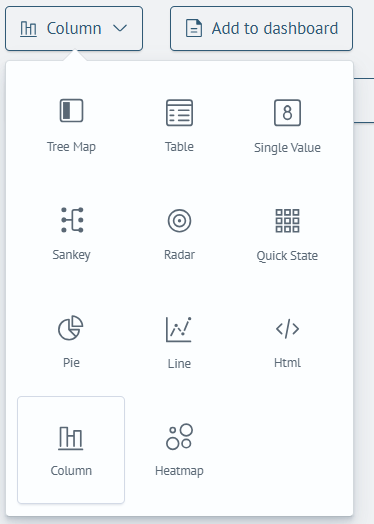
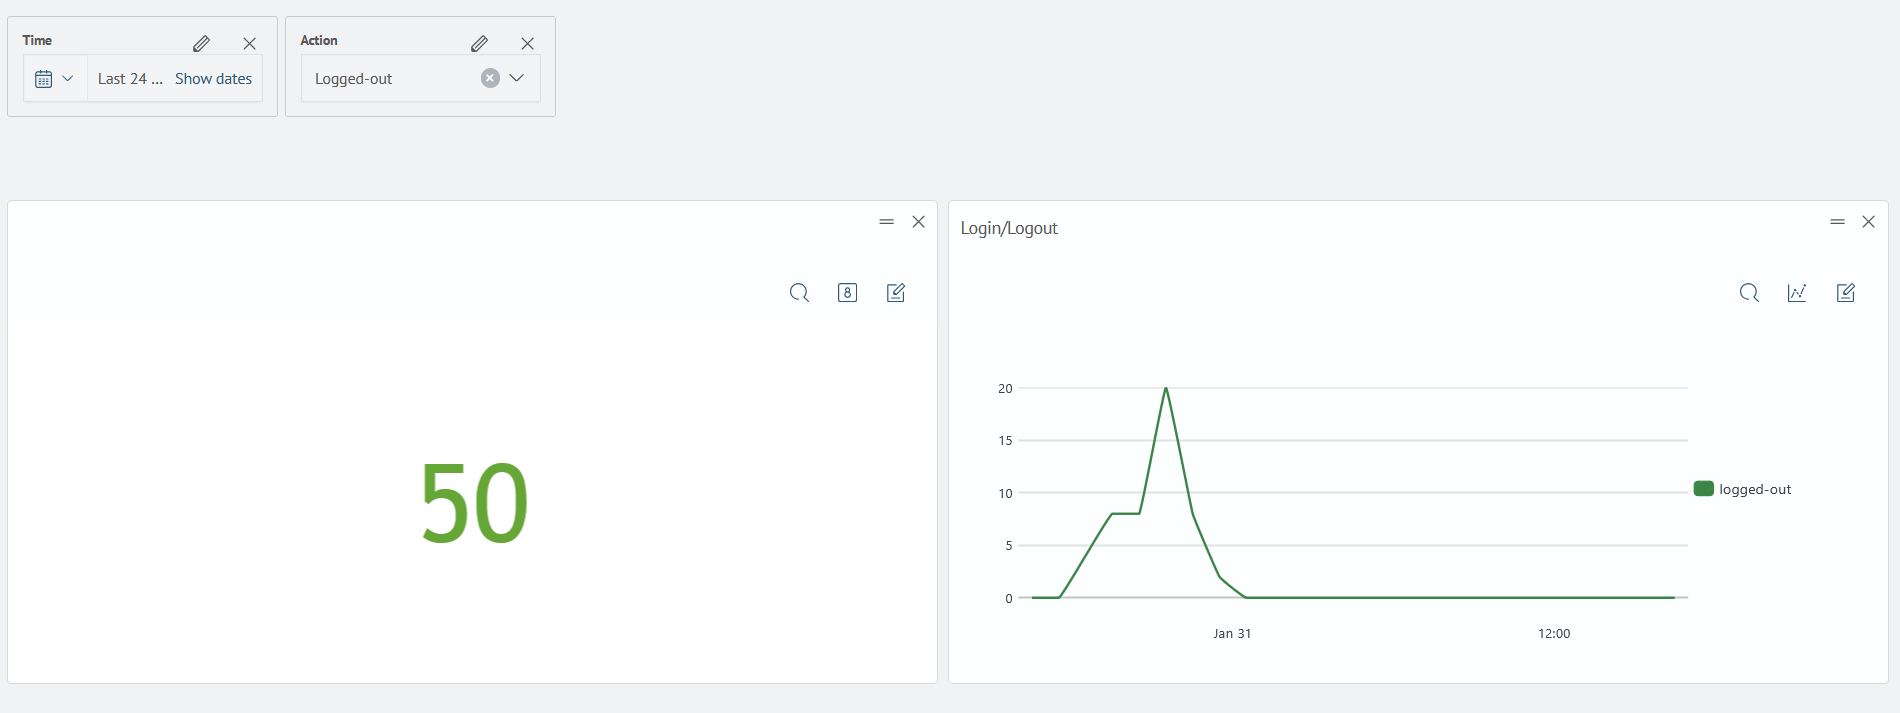
To add a panel, click the Add Panel button and select the visualization type. In the opened dialog box, enter the search query and, if necessary, specify the time filter identifier. In the scenario under consideration, a Single Value type panel is added.

After clicking the Save button, the panel will be added to the dashboard. After that, it can be placed anywhere by dragging and dropping, and a description can be added by clicking on the line in the panel header.
Panel Settings
If necessary, the visualization can be further fine-tuned using the panel settings. To open the panel settings, click the settings button - .
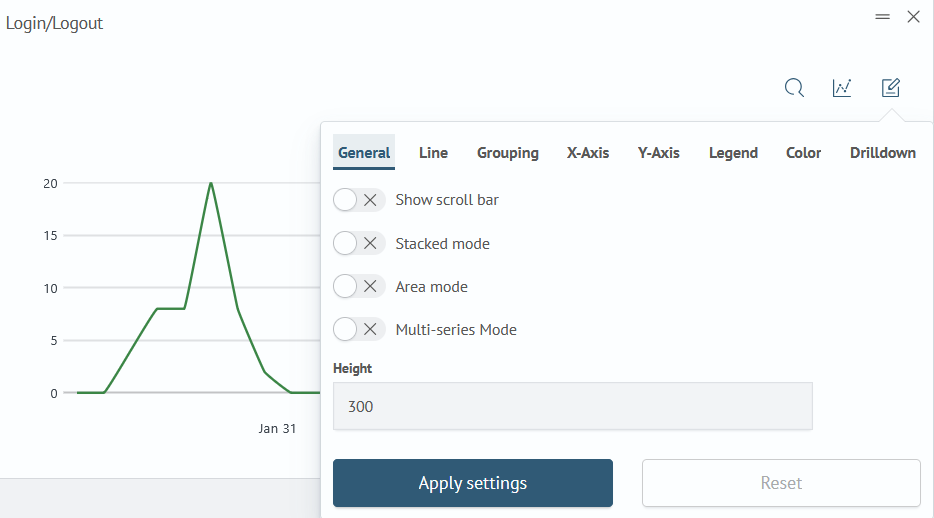
Here you can configure display settings, color schemes, links in visualizations, and more.
Detailed material on this topic can be found in the section on creating visualizations.