Layer
Description
A layer is a kind of container that allows combining multiple monitoring objects, even if they have no explicit dependencies on each other.
Appointment
The layer enables:
- Monitoring multiple objects at once without switching between models
- Configuring a role model for access control
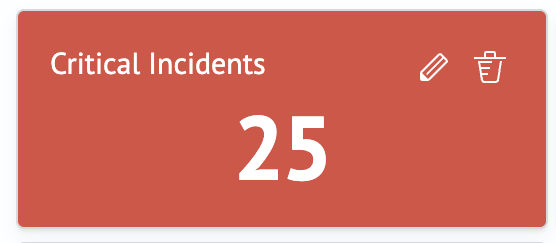
Layer representation in tile view.
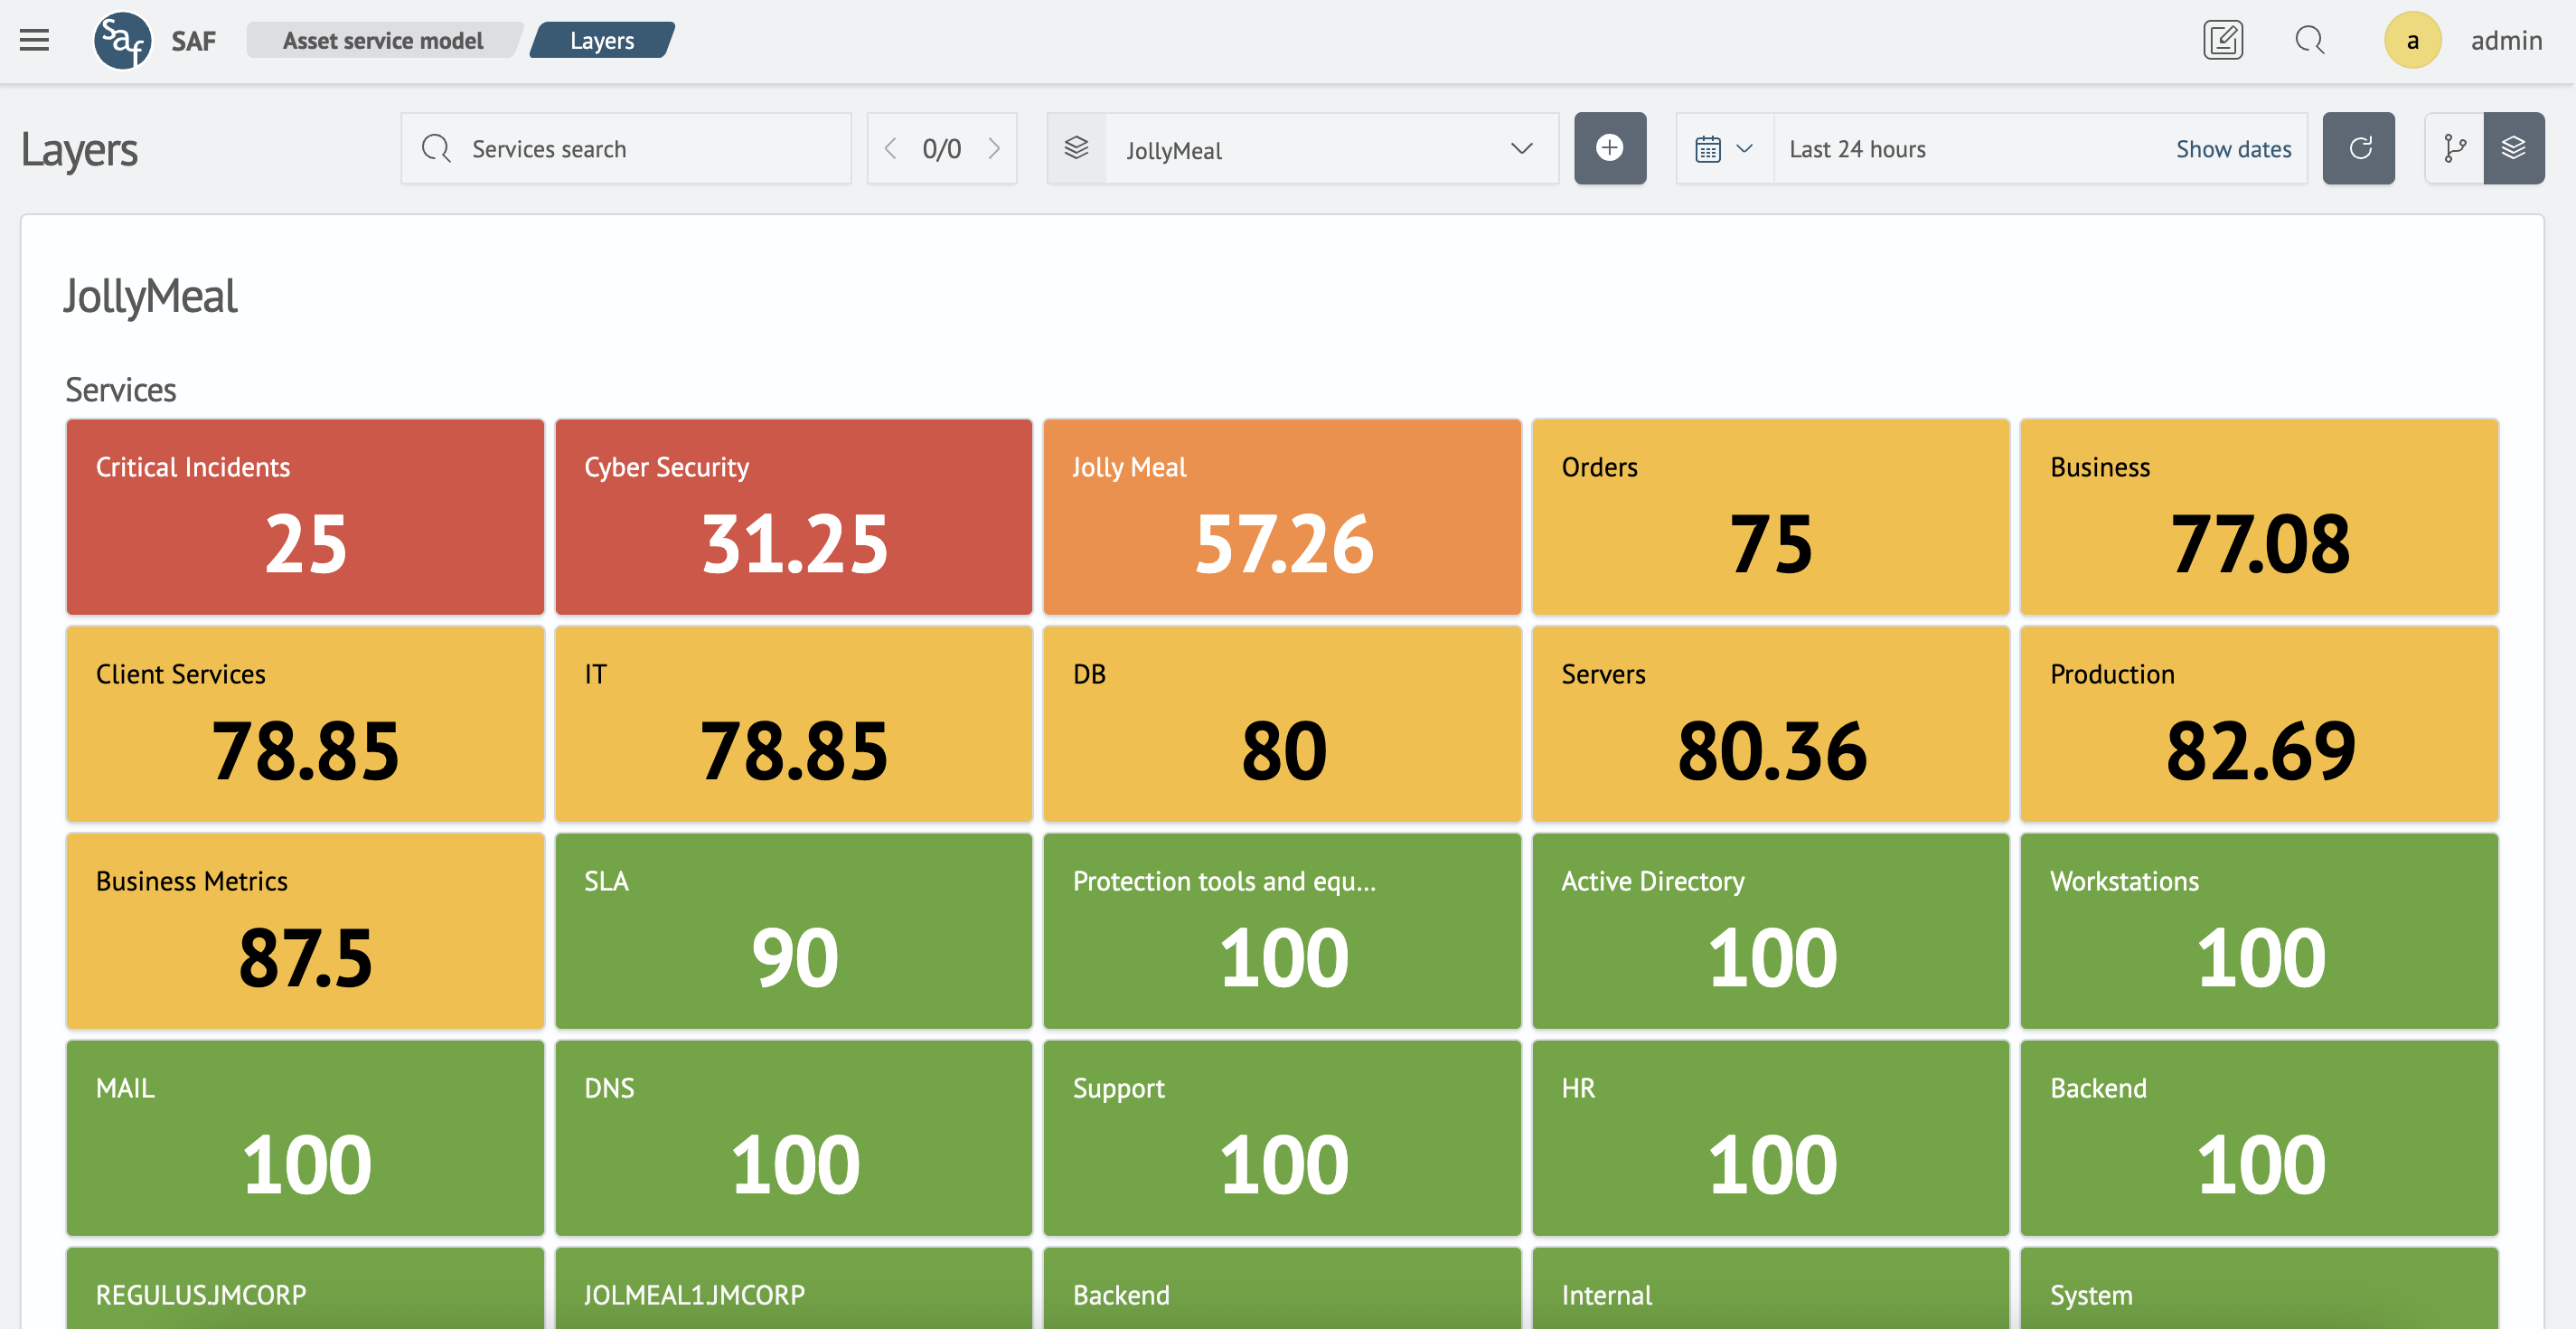
Layer representation in tile view.
Control Panel
This panel allows you to search for services, set time ranges, select layers, and quickly switch between different view modes.
Example control panel:

The control panel on the Layers page is similar to the panel on the graph page, with the only difference being an additional Create Layer button next to the layer selection dropdown.
Search
Allows you to find services. After entering a query, the first matching service will be highlighted.
Use the arrows on the right side of the search bar to navigate between found services. The numbers show the current item's position and total matches (e.g., 1/5).
You can also use the Enter key to jump to the next search result and Escape to reset the search.
Layer Selection
This dropdown menu allows quick switching between layers.
Time Range Selection
This control element enables flexible configuration of the time range for displayed data. The dropdown also includes settings for automatic refresh intervals. To activate it, select a period and click Start. To stop, click Stop.
For more details on working with the time filter, see the Working with Time Filters section.
Data Refresh
Clicking this button triggers a manual data refresh from the server. Data also refreshes automatically with every time range change.
Quick View Switching
Enables instant toggling between graph and layer view modes.
Layer Management
Management is possible in two ways:
- via the layer editing page
- via the dedicated layer list page (layer table)
The following are the main actions that can be performed on the layer editing page.
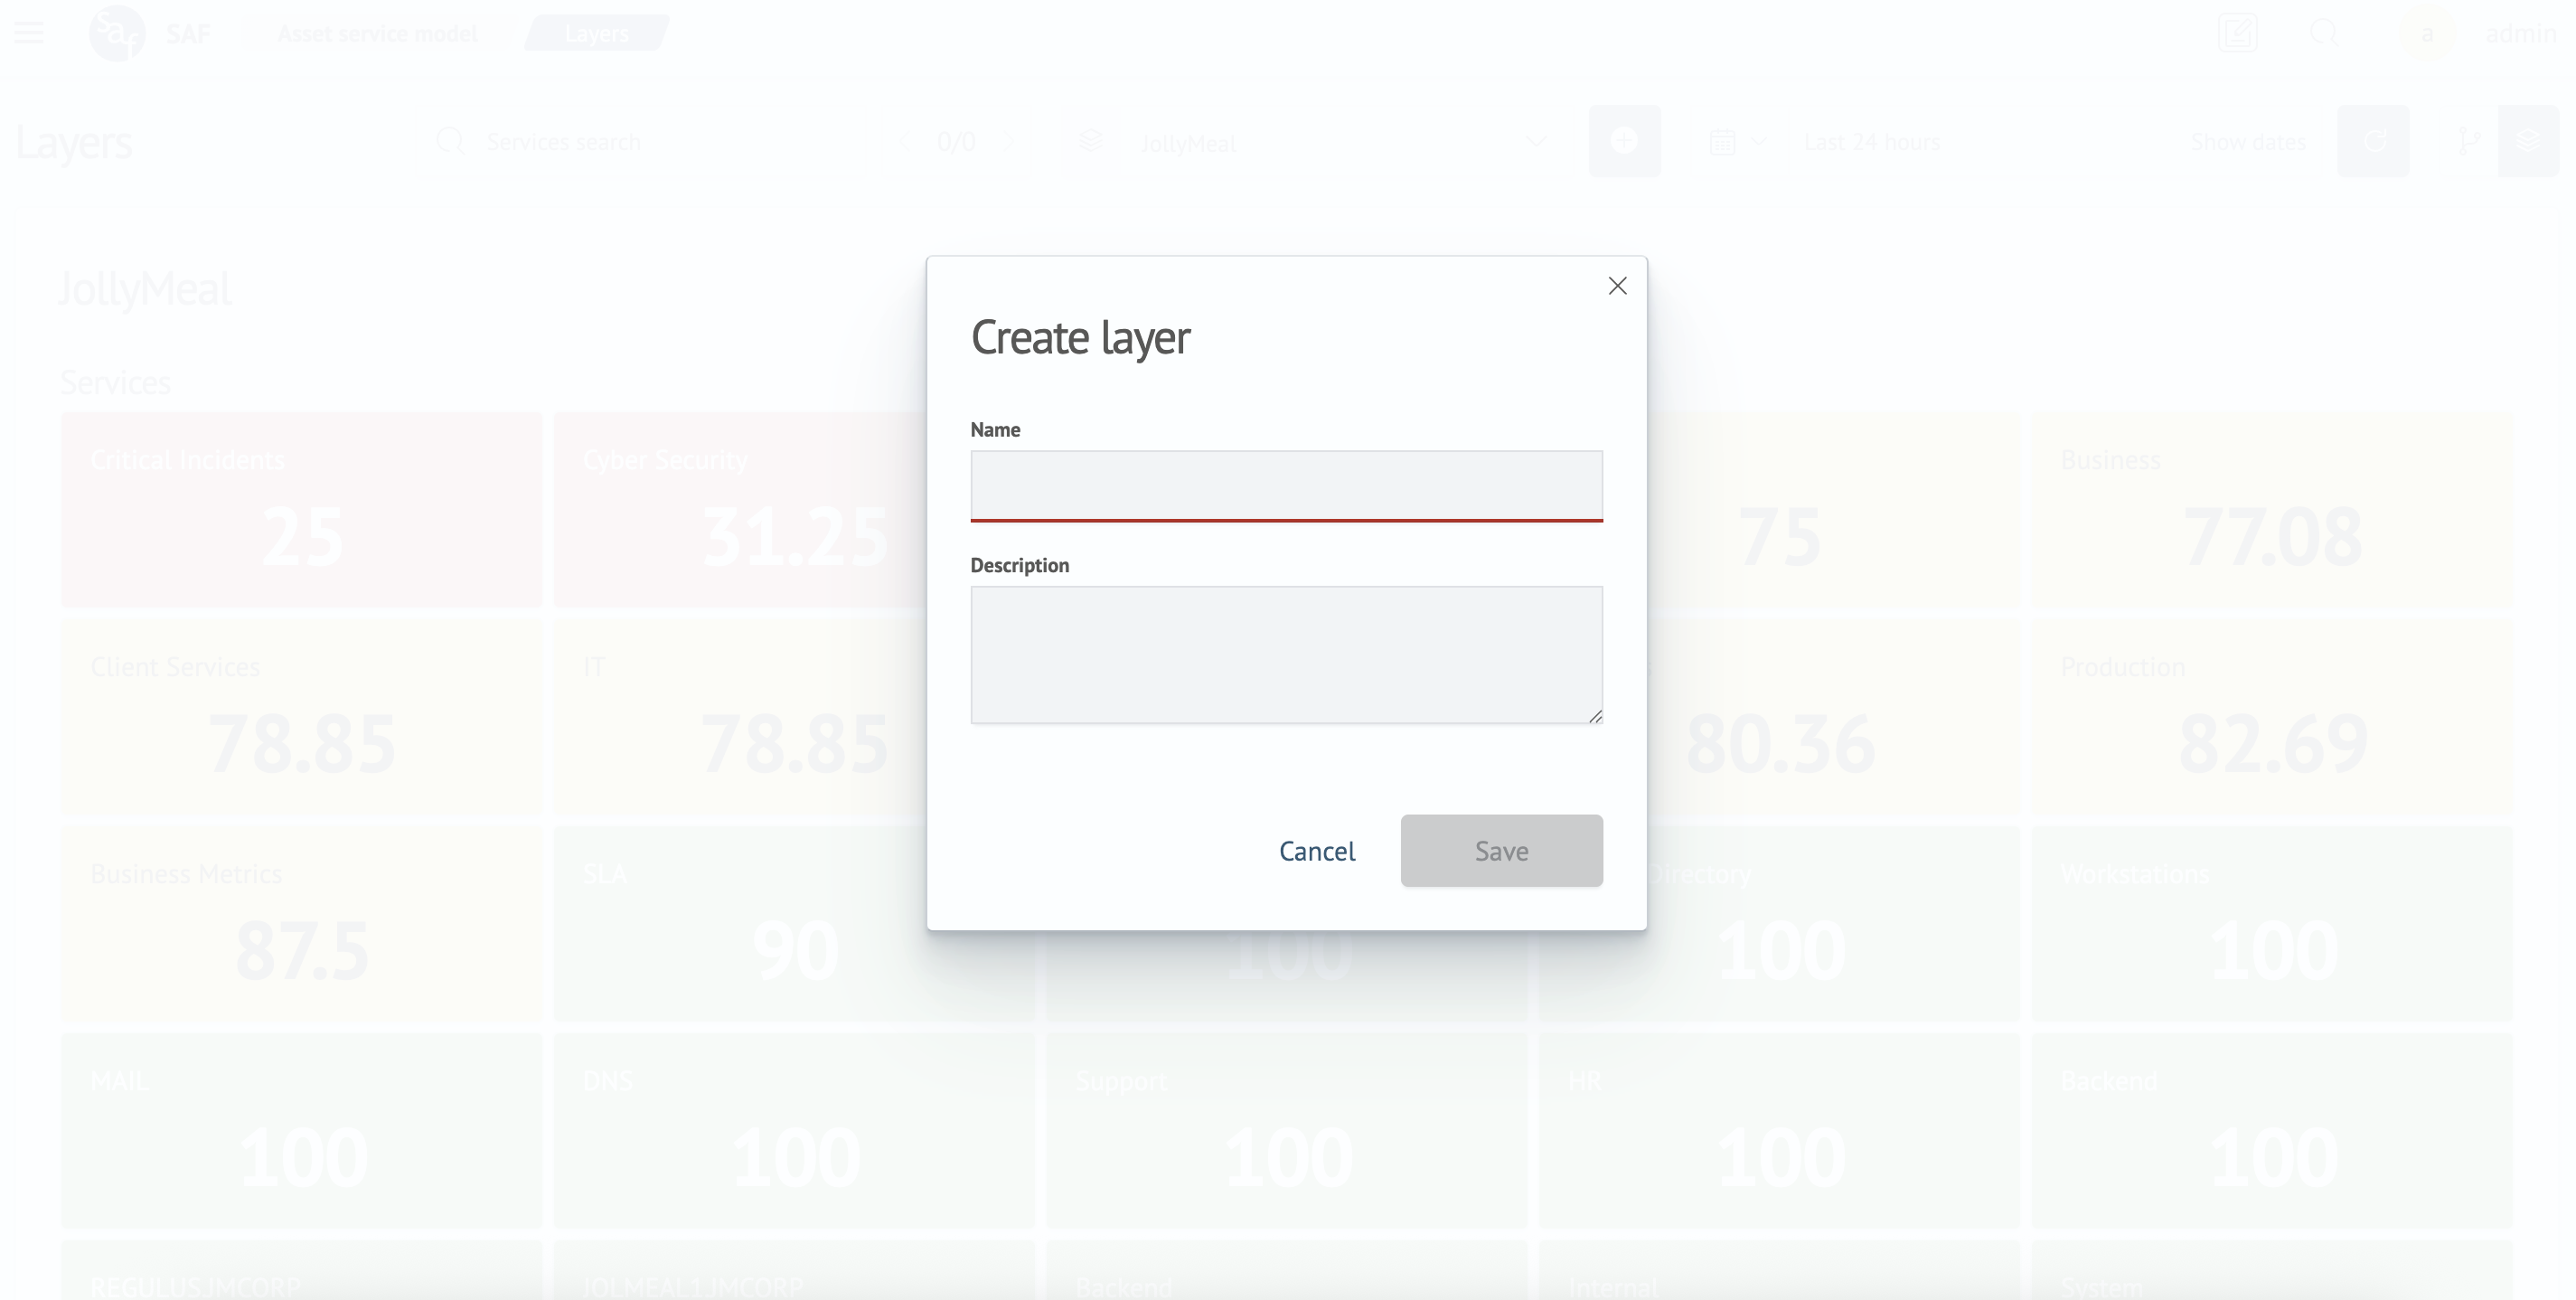
Creating a Layer
To create a layer, click the "plus" icon button next to the layer selection dropdown.
Editing a Layer
To edit a layer, hover over the layer name to reveal the control elements.
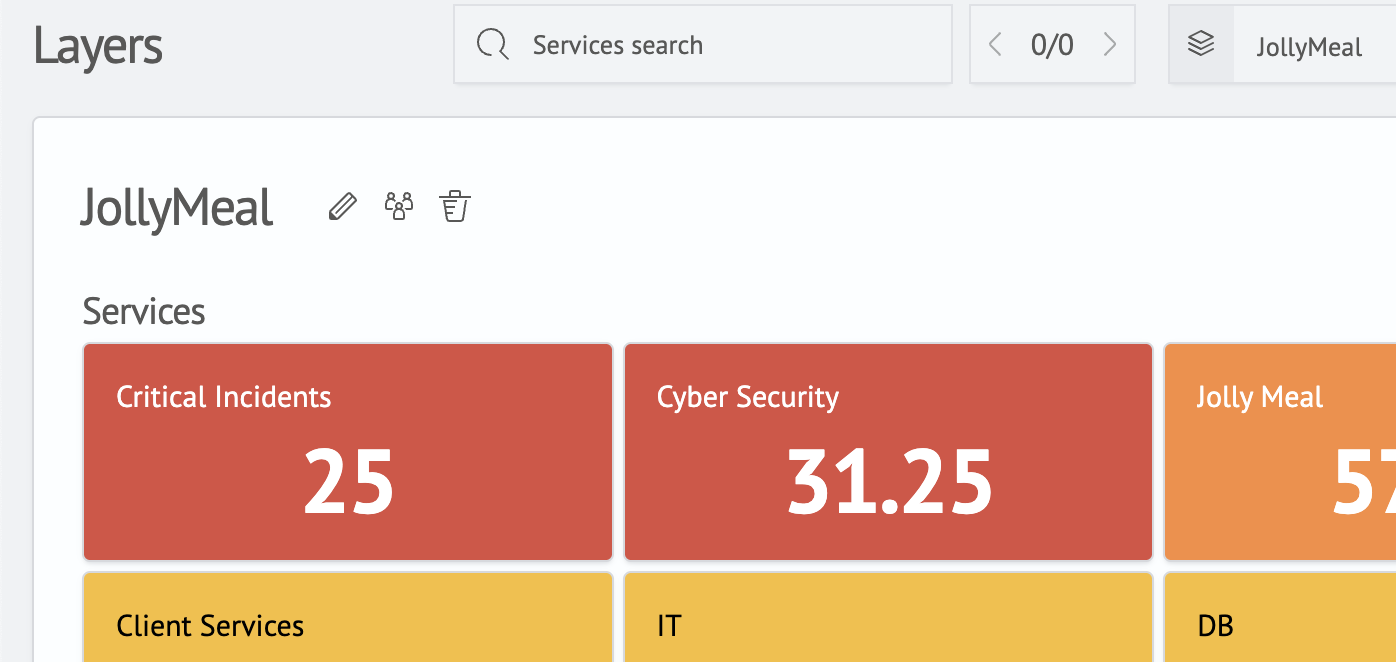
Click the pencil icon - this will open a modal window with fields for modifying the layer's name and description.
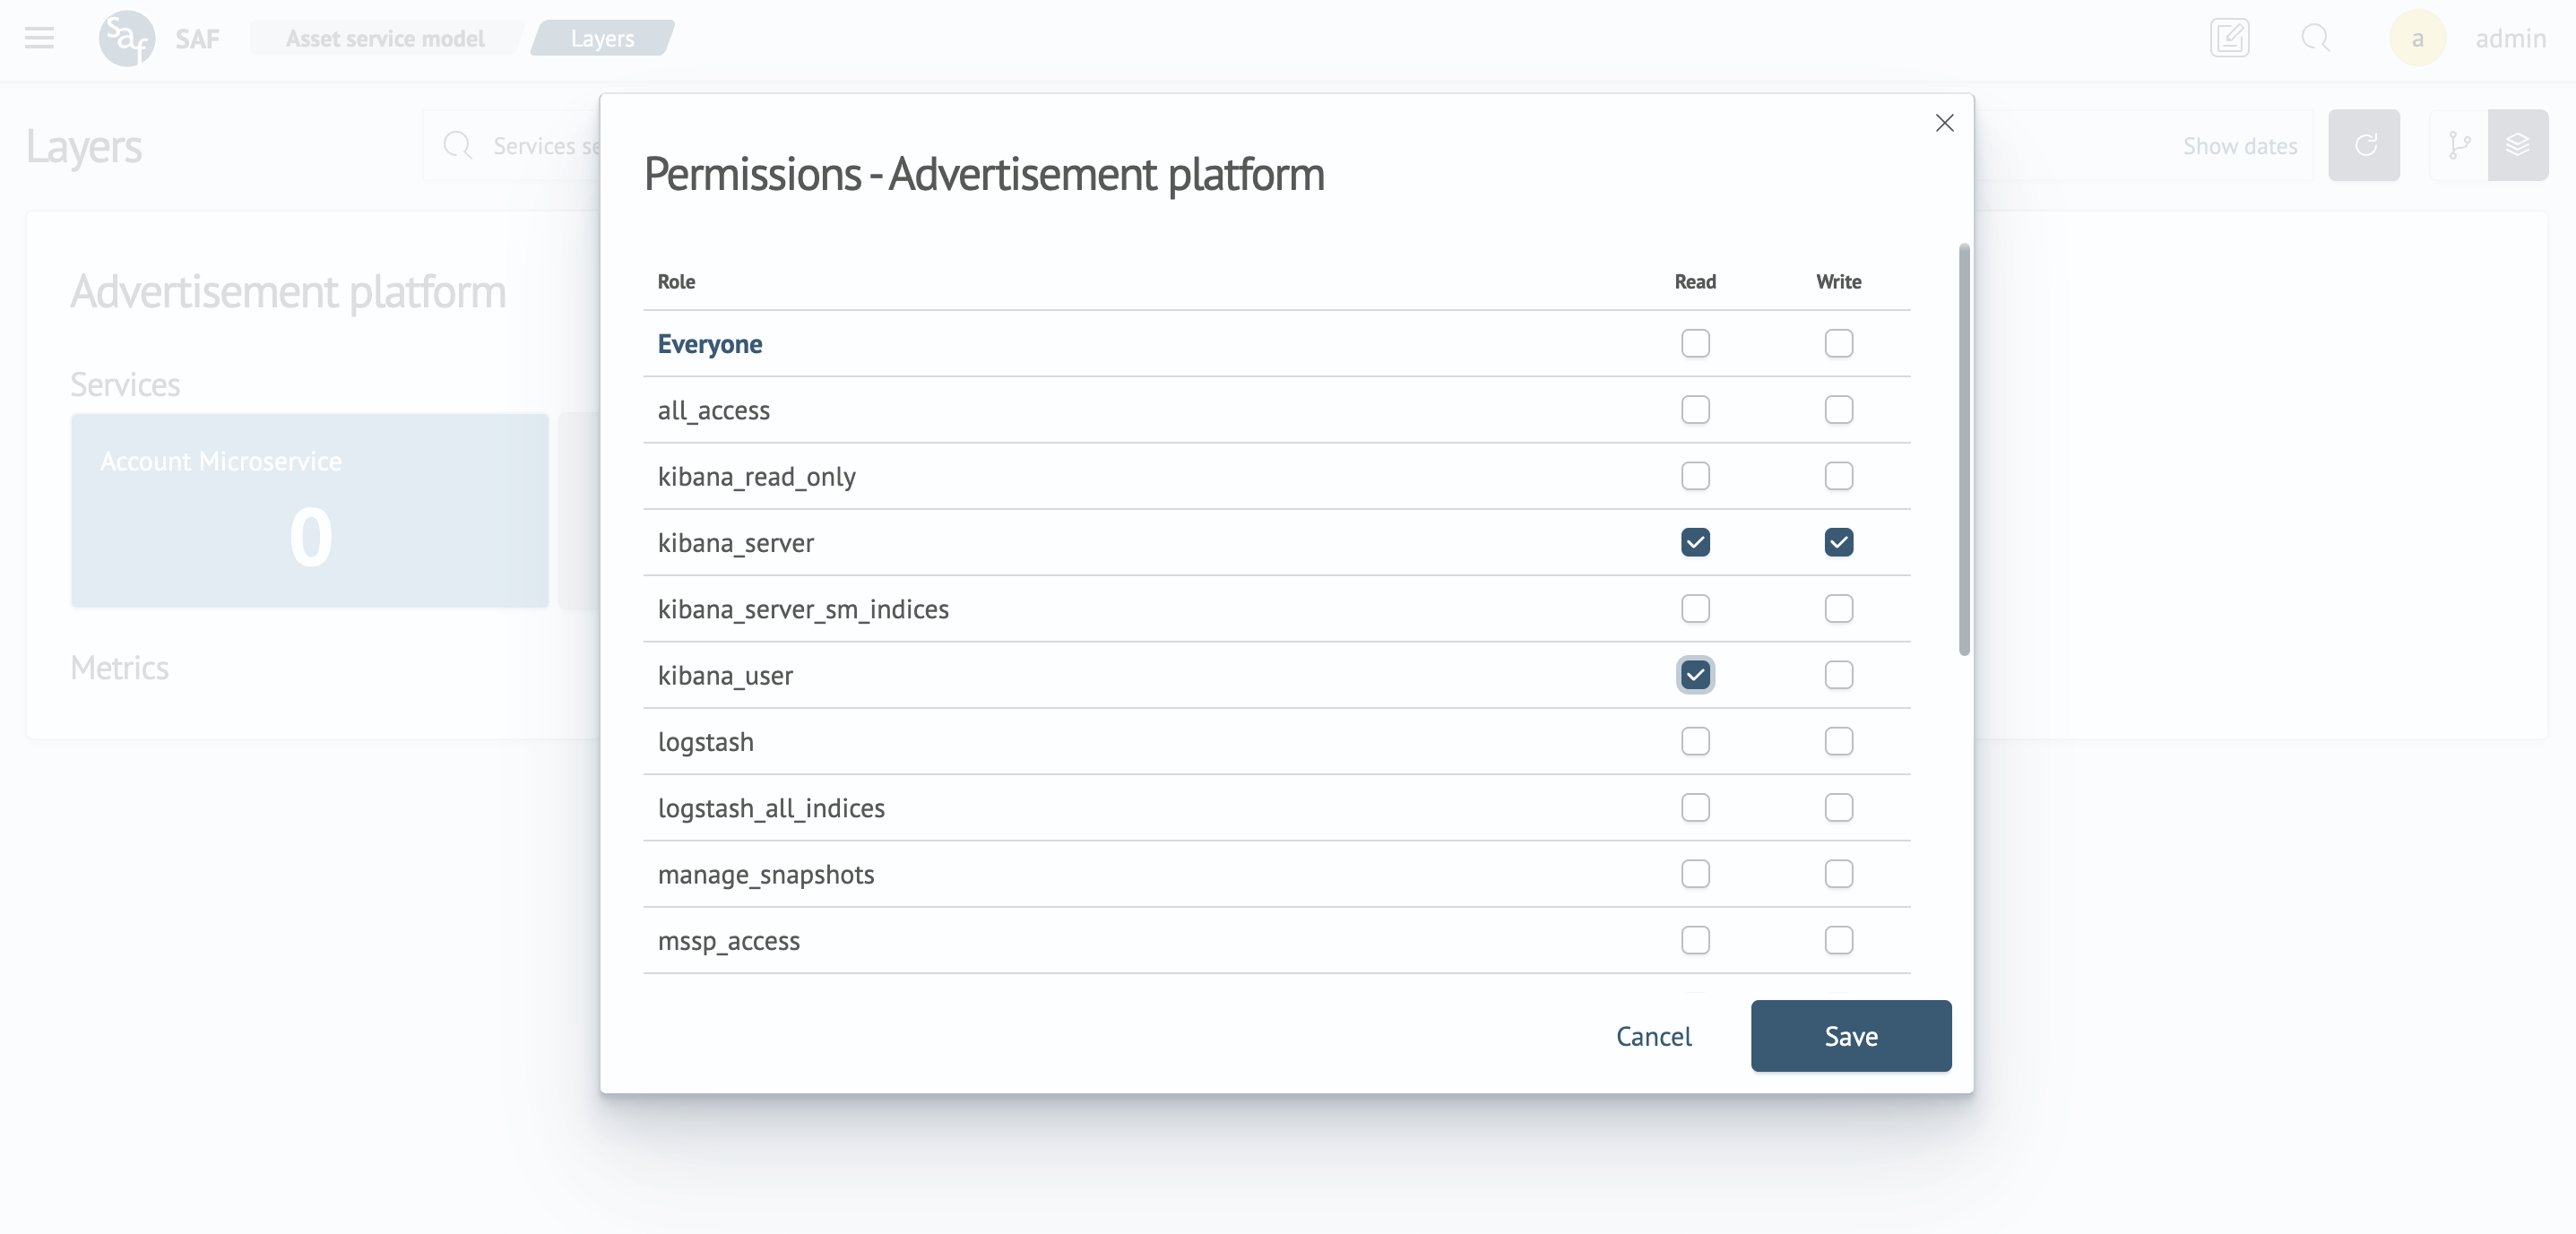
Setting Permissions
To configure permissions, click the "people" icon. This will open a modal window where you can set permissions for available system roles.
Deleting a Layer
To delete a layer:
-
Hover over the layer name again
-
Click the red trash bin icon
-
Confirm deletion in the pop-up dialog
Service Management
To manage services, hover over a service block - control elements will appear to the right of the header:
- edit service (pencil icon)
- delete service (trash bin icon)
Example service block with controls:
Selecting a Service
When clicking a service:
- its associated metrics become highlighted
- other metrics appear dimmed
Clicking again removes the selection, restoring all metrics to their default appearance.
Creating a Service
To create a service:
- Click the gray block with a "plus" icon labeled
Add Service - A service creation modal window will open
See the Service page for detailed creation instructions.
Editing a Service
Click the pencil icon to open the service editing modal.
See the Service page for detailed editing instructions.
Deleting a Service
Click the trash bin icon to delete a service, then confirm deletion.
Working with the Layer Table
The Layer Table page displays a list of all layers used in the RCM.
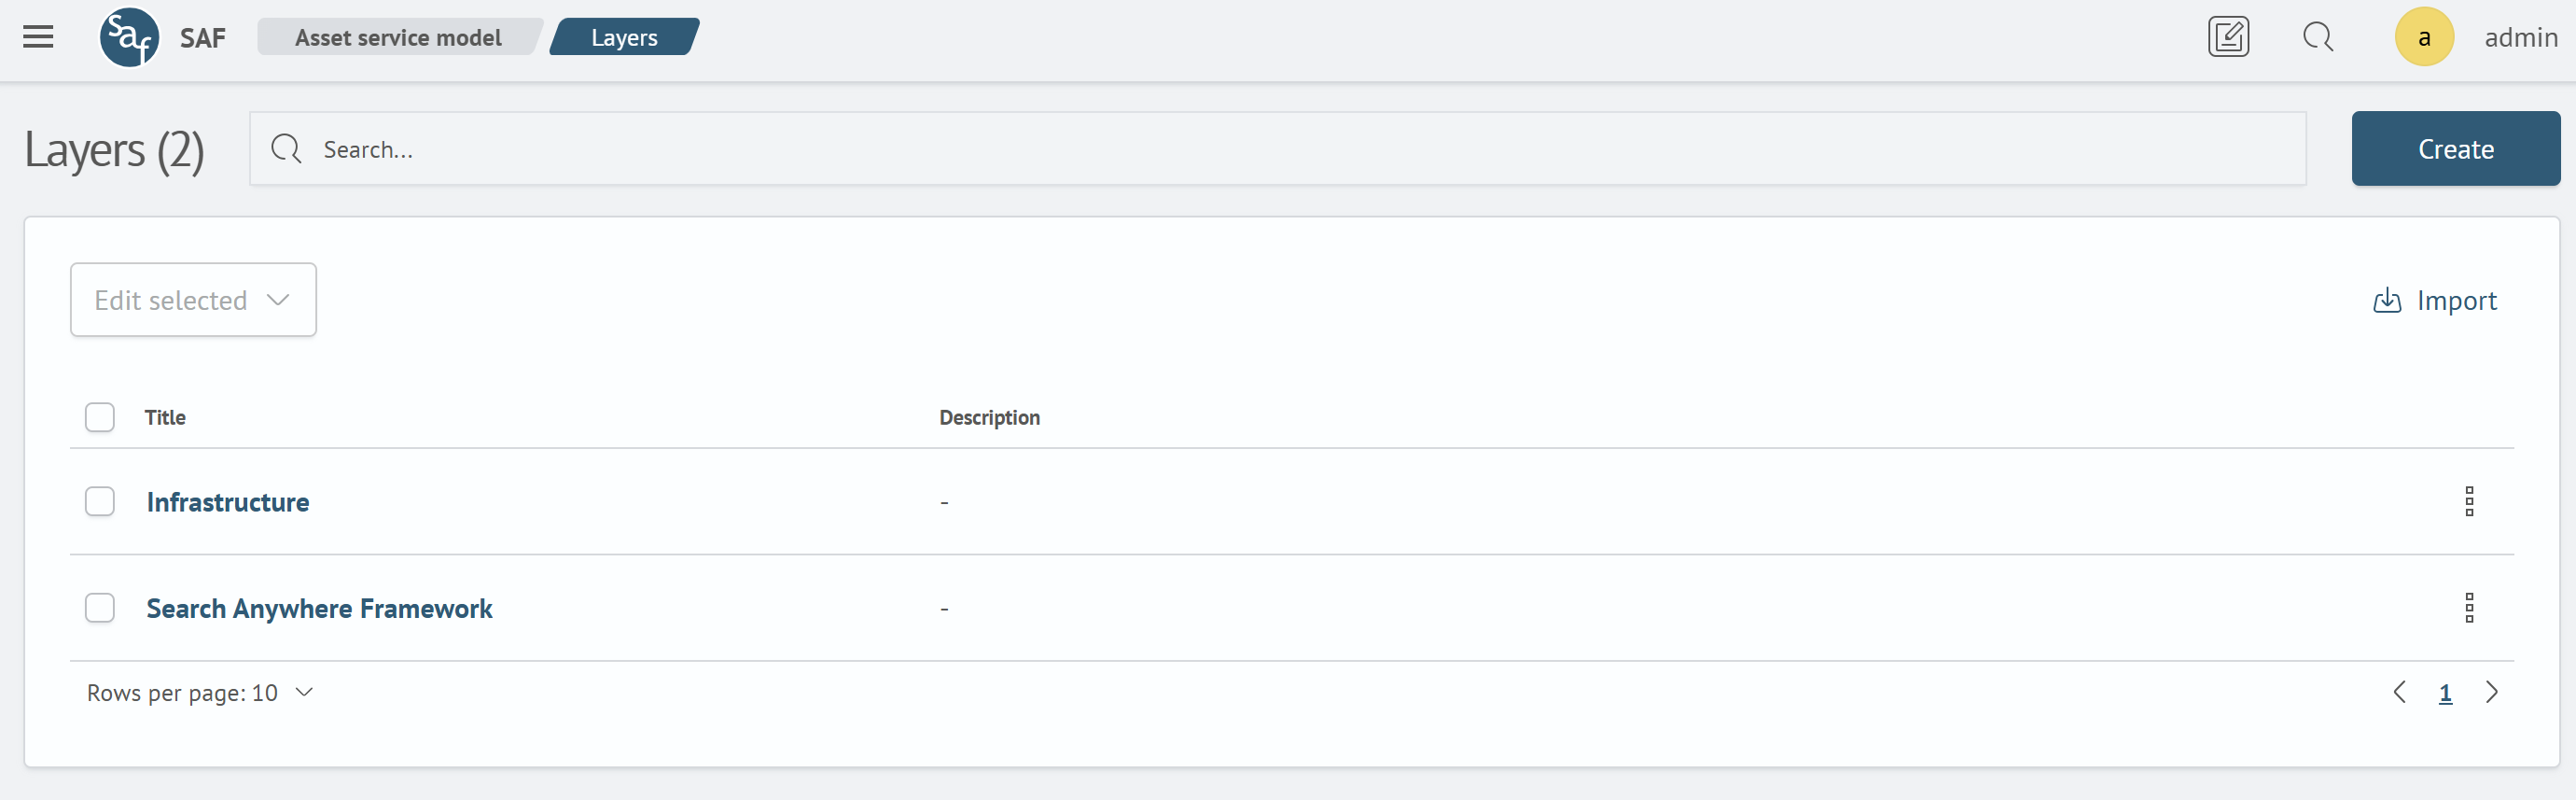
Interface Overview
The main table contains the following columns:
- Name: the unique layer name
- Description: an explanation of the layer's purpose
Main Actions
The top section of the page contains control elements:
- Search: the
Search...field allows instant filtering of the list by name or description - Create: (green button) opens a form to create a new layer
- Export: downloads the current layer list from the system
- Import: allows uploading a layer list into the system from a file
Bulk Actions
You can perform actions on multiple layers simultaneously:
- Select layers: mark one or more layers using the checkboxes in the first column of the table
- Actions with selection: after selection, the buttons above the list become active:
- Edit selected: (dropdown) allows applying bulk access rights changes to selected layers
- Delete N layer/layers: (red button) initiates the deletion process for all selected layers
Individual Actions
The following options are available for managing each individual layer:
- Editing: clicking on the layer name in the table opens a modal window with a form to edit the layer name and description
- Action menu (three dots): at the end of each row there is a menu that opens a list of quick actions, such as editing permissions and deleting the layer
Page Navigation
The bottom section of the table contains pagination controls:
- Rows per page: a dropdown list allowing you to select how many items to display per page (e.g., 10)
- Page navigation: arrows (
<>) and page numbers allow navigation through the list if it doesn't fit on a single page