Tag Setup
Tags allow searching and filtering various objects in Search Anywhere Framework. Using tags, you can quickly find the dashboards, jobs or other system entities you need.
Each object can be assigned one or more tags, which simplifies grouping and navigation through interface elements.
Tag Management Interface
To go to tag management, navigate to Main Menu - Settings - Management - Tags:
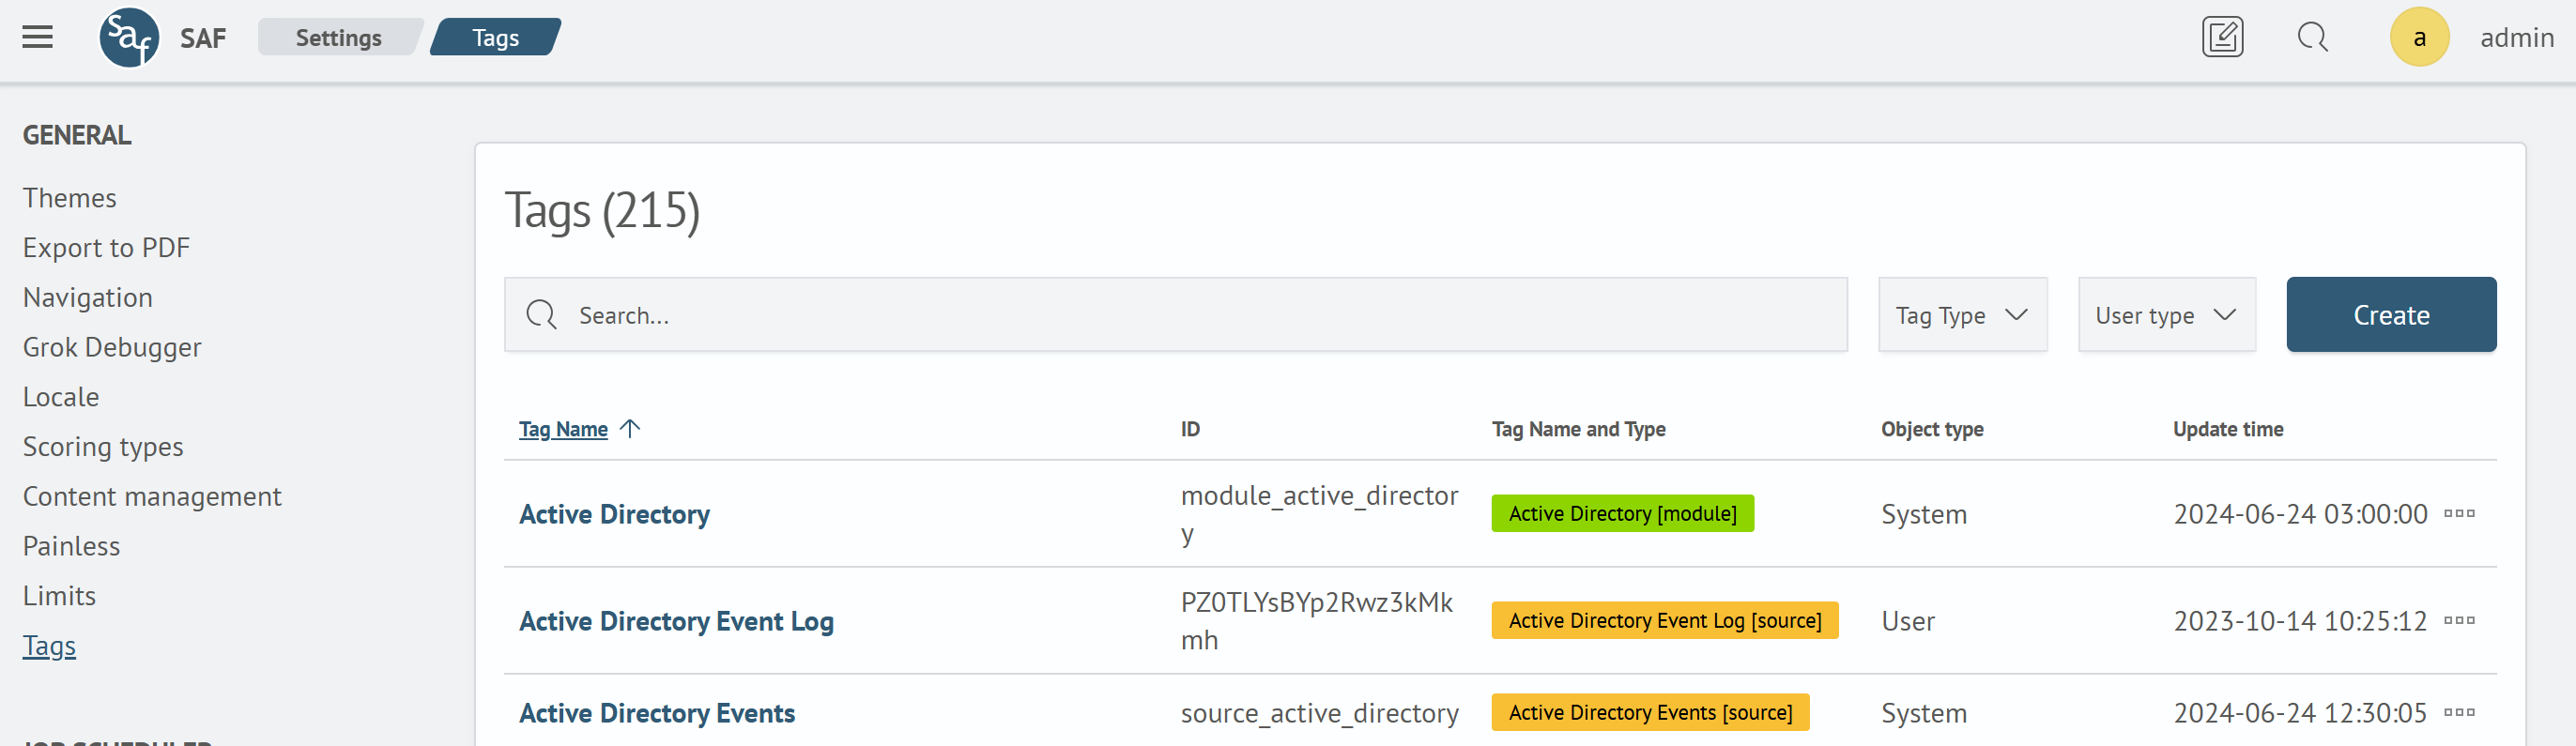
The opened interface will display a list of existing tags. This page allows creating new tags, as well as editing and deleting existing ones.
Creating a New Tag
Adding a new tag:
-
Go to the
Tagsinterface (Main Menu-Settings-Management-Tags) and click theCreatebutton -
Fill in the fields in the opened window:
- Tag Name — arbitrary name displayed in the interface
- Tag Type — determines category and color scheme
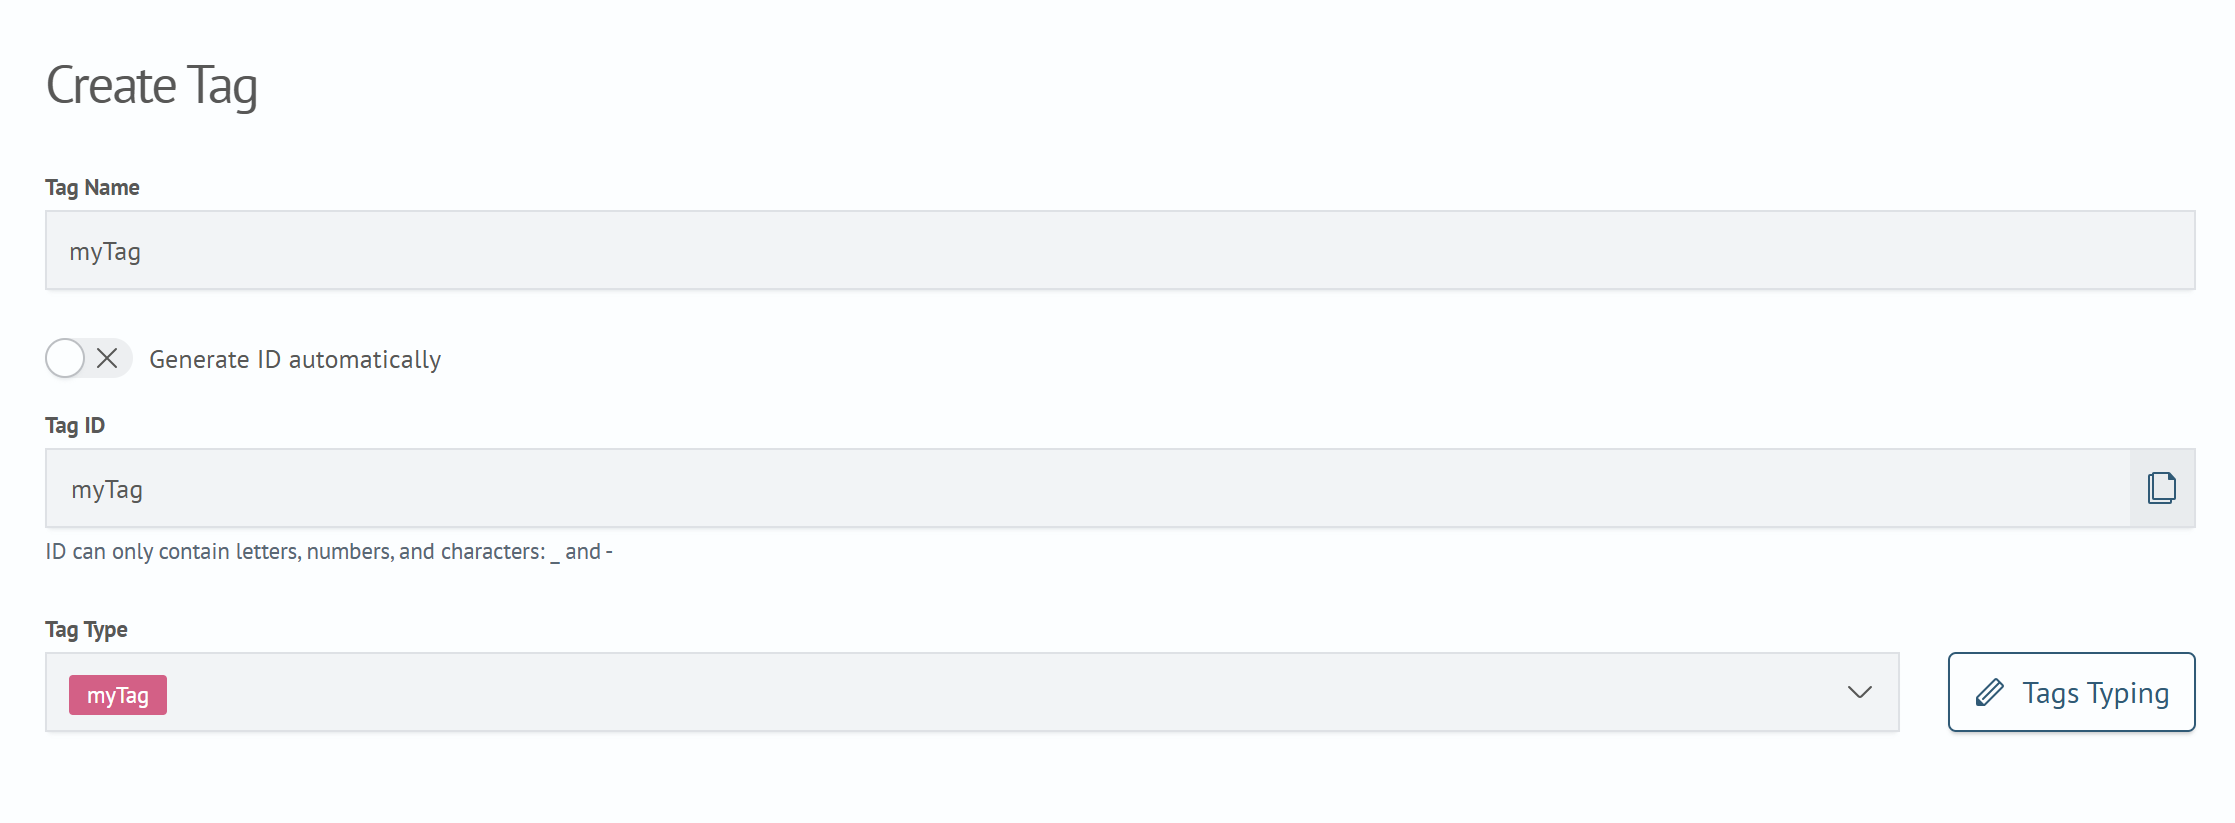
-
Click
Save
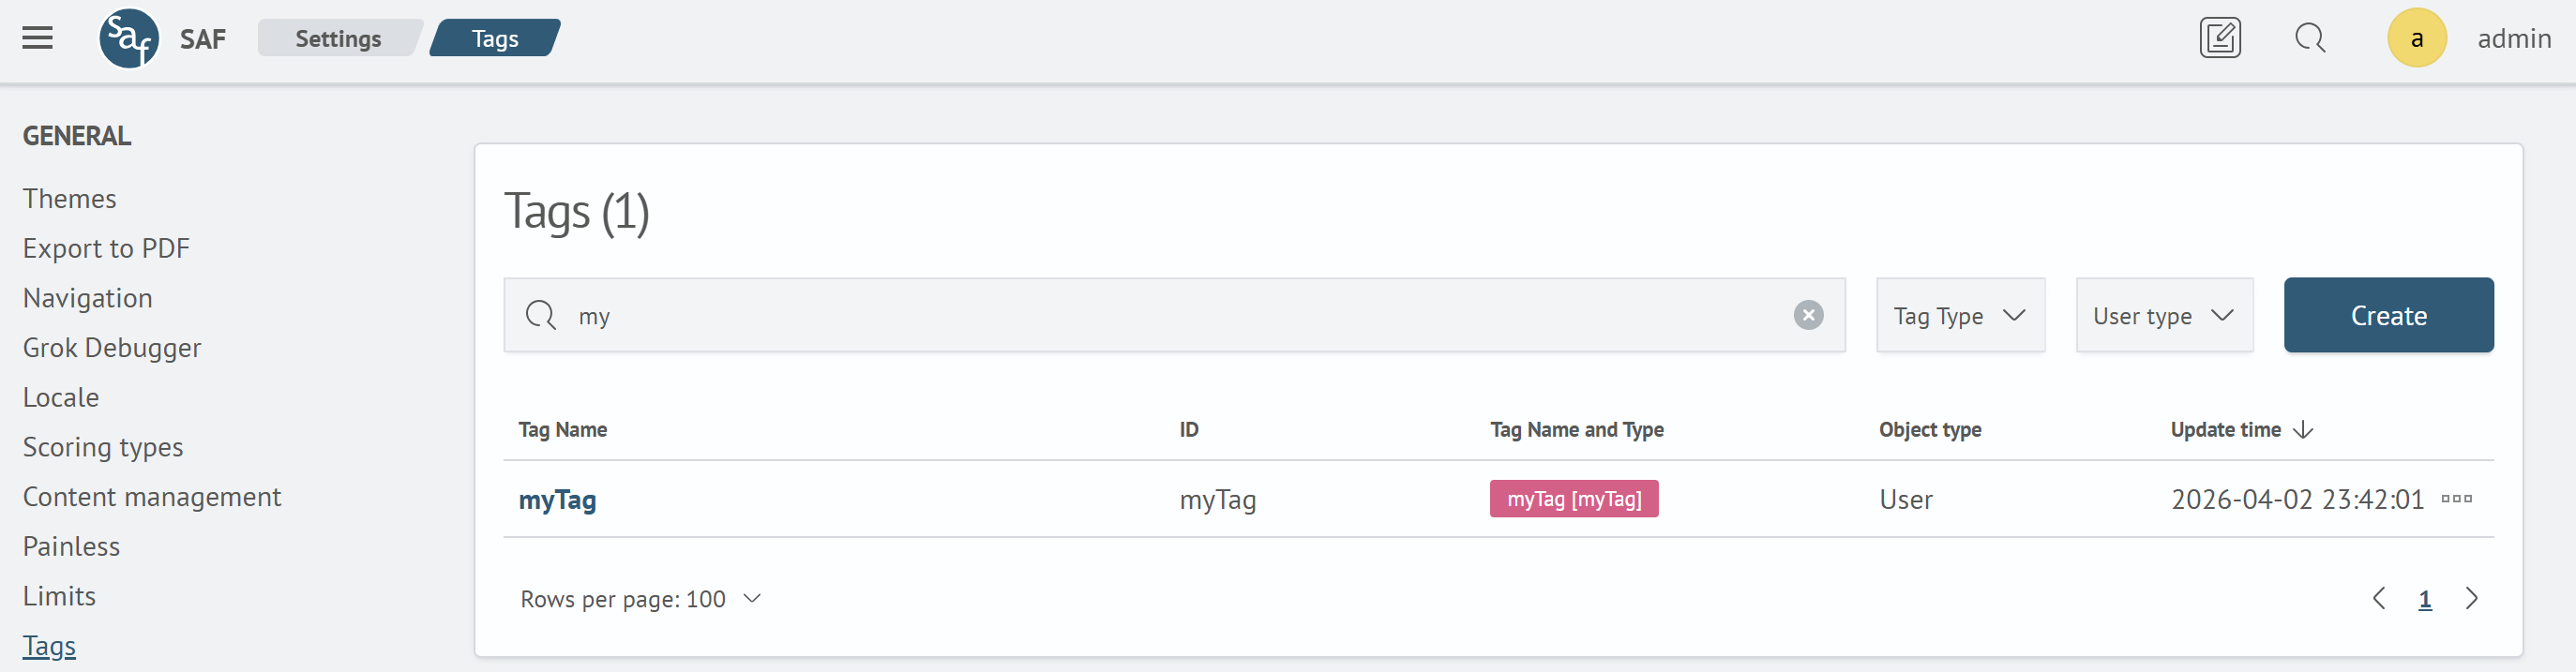
After saving, the new tag will appear in the list. The system will automatically assign it a unique ID.
Before mass tag creation, develop a type system to avoid duplication and simplify future management.
Tag Typing
Tag types serve to visually separate tag groups by color and name.
Adding a new type:
-
In the tag creation form, click the
Tag Typingbutton next to the Tag Type field -
In the opened window, click
Add -
Fill in the fields in the form:
- Type Name: arbitrary name displayed in the interface
- Type Color: select any color from the palette
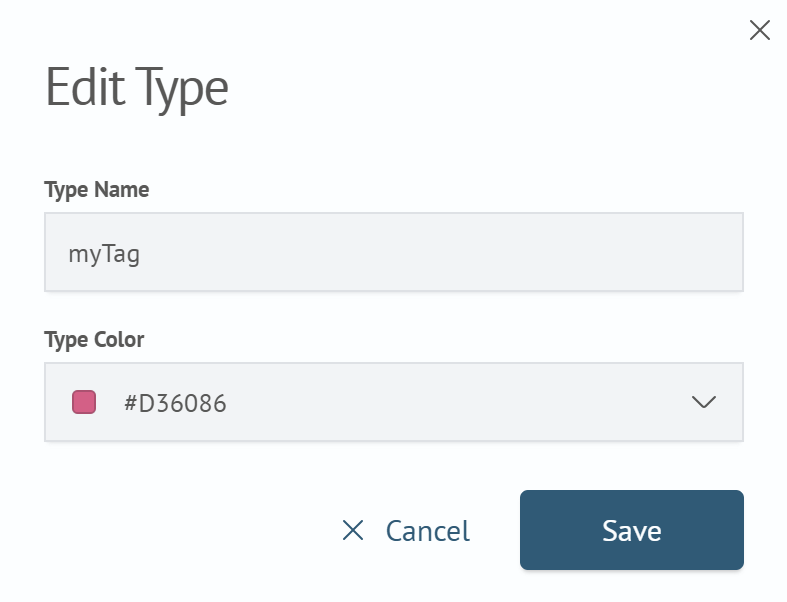
-
Click
Save
After saving, the created type will appear in the tag types list and become available for selection when creating or editing tags.
Working with Tags
After creation, tags can be used to filter objects in the Search Anywhere Framework interface by adding them to system objects.
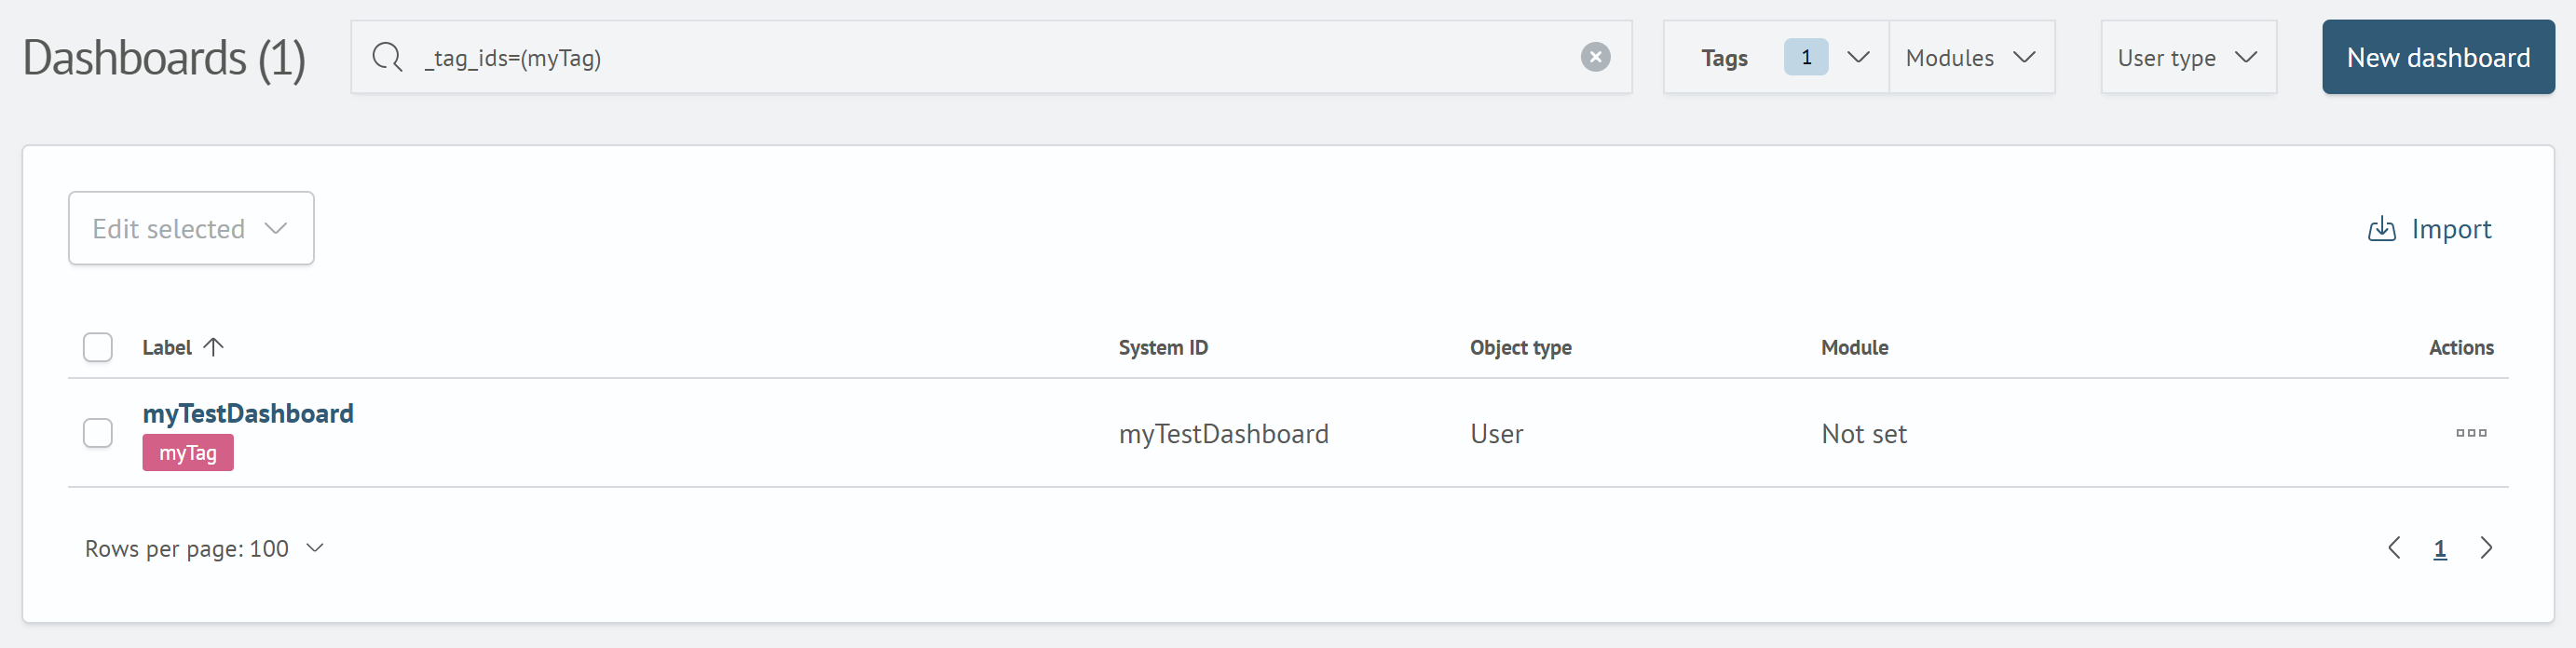
For example, to filter dashboards, jobs or other elements:
- Activate the filter in the object table
- In the
Tagsfilter field, specify one or more tags - The system will display only objects corresponding to the selected tags
Any tag or tag type can be changed or deleted at any time. No service restart is required.