Icon Management
Icons used in visualizations can be managed through the graphical interface or over SSH.
Manage Icons in the Graphical Interface
In the graphical interface, you can browse and search for icons available for visualizations, as well as add, rename, and delete custom icons. To open the icon management page, go to Main Menu - Settings - Module Settings - Icon Management.
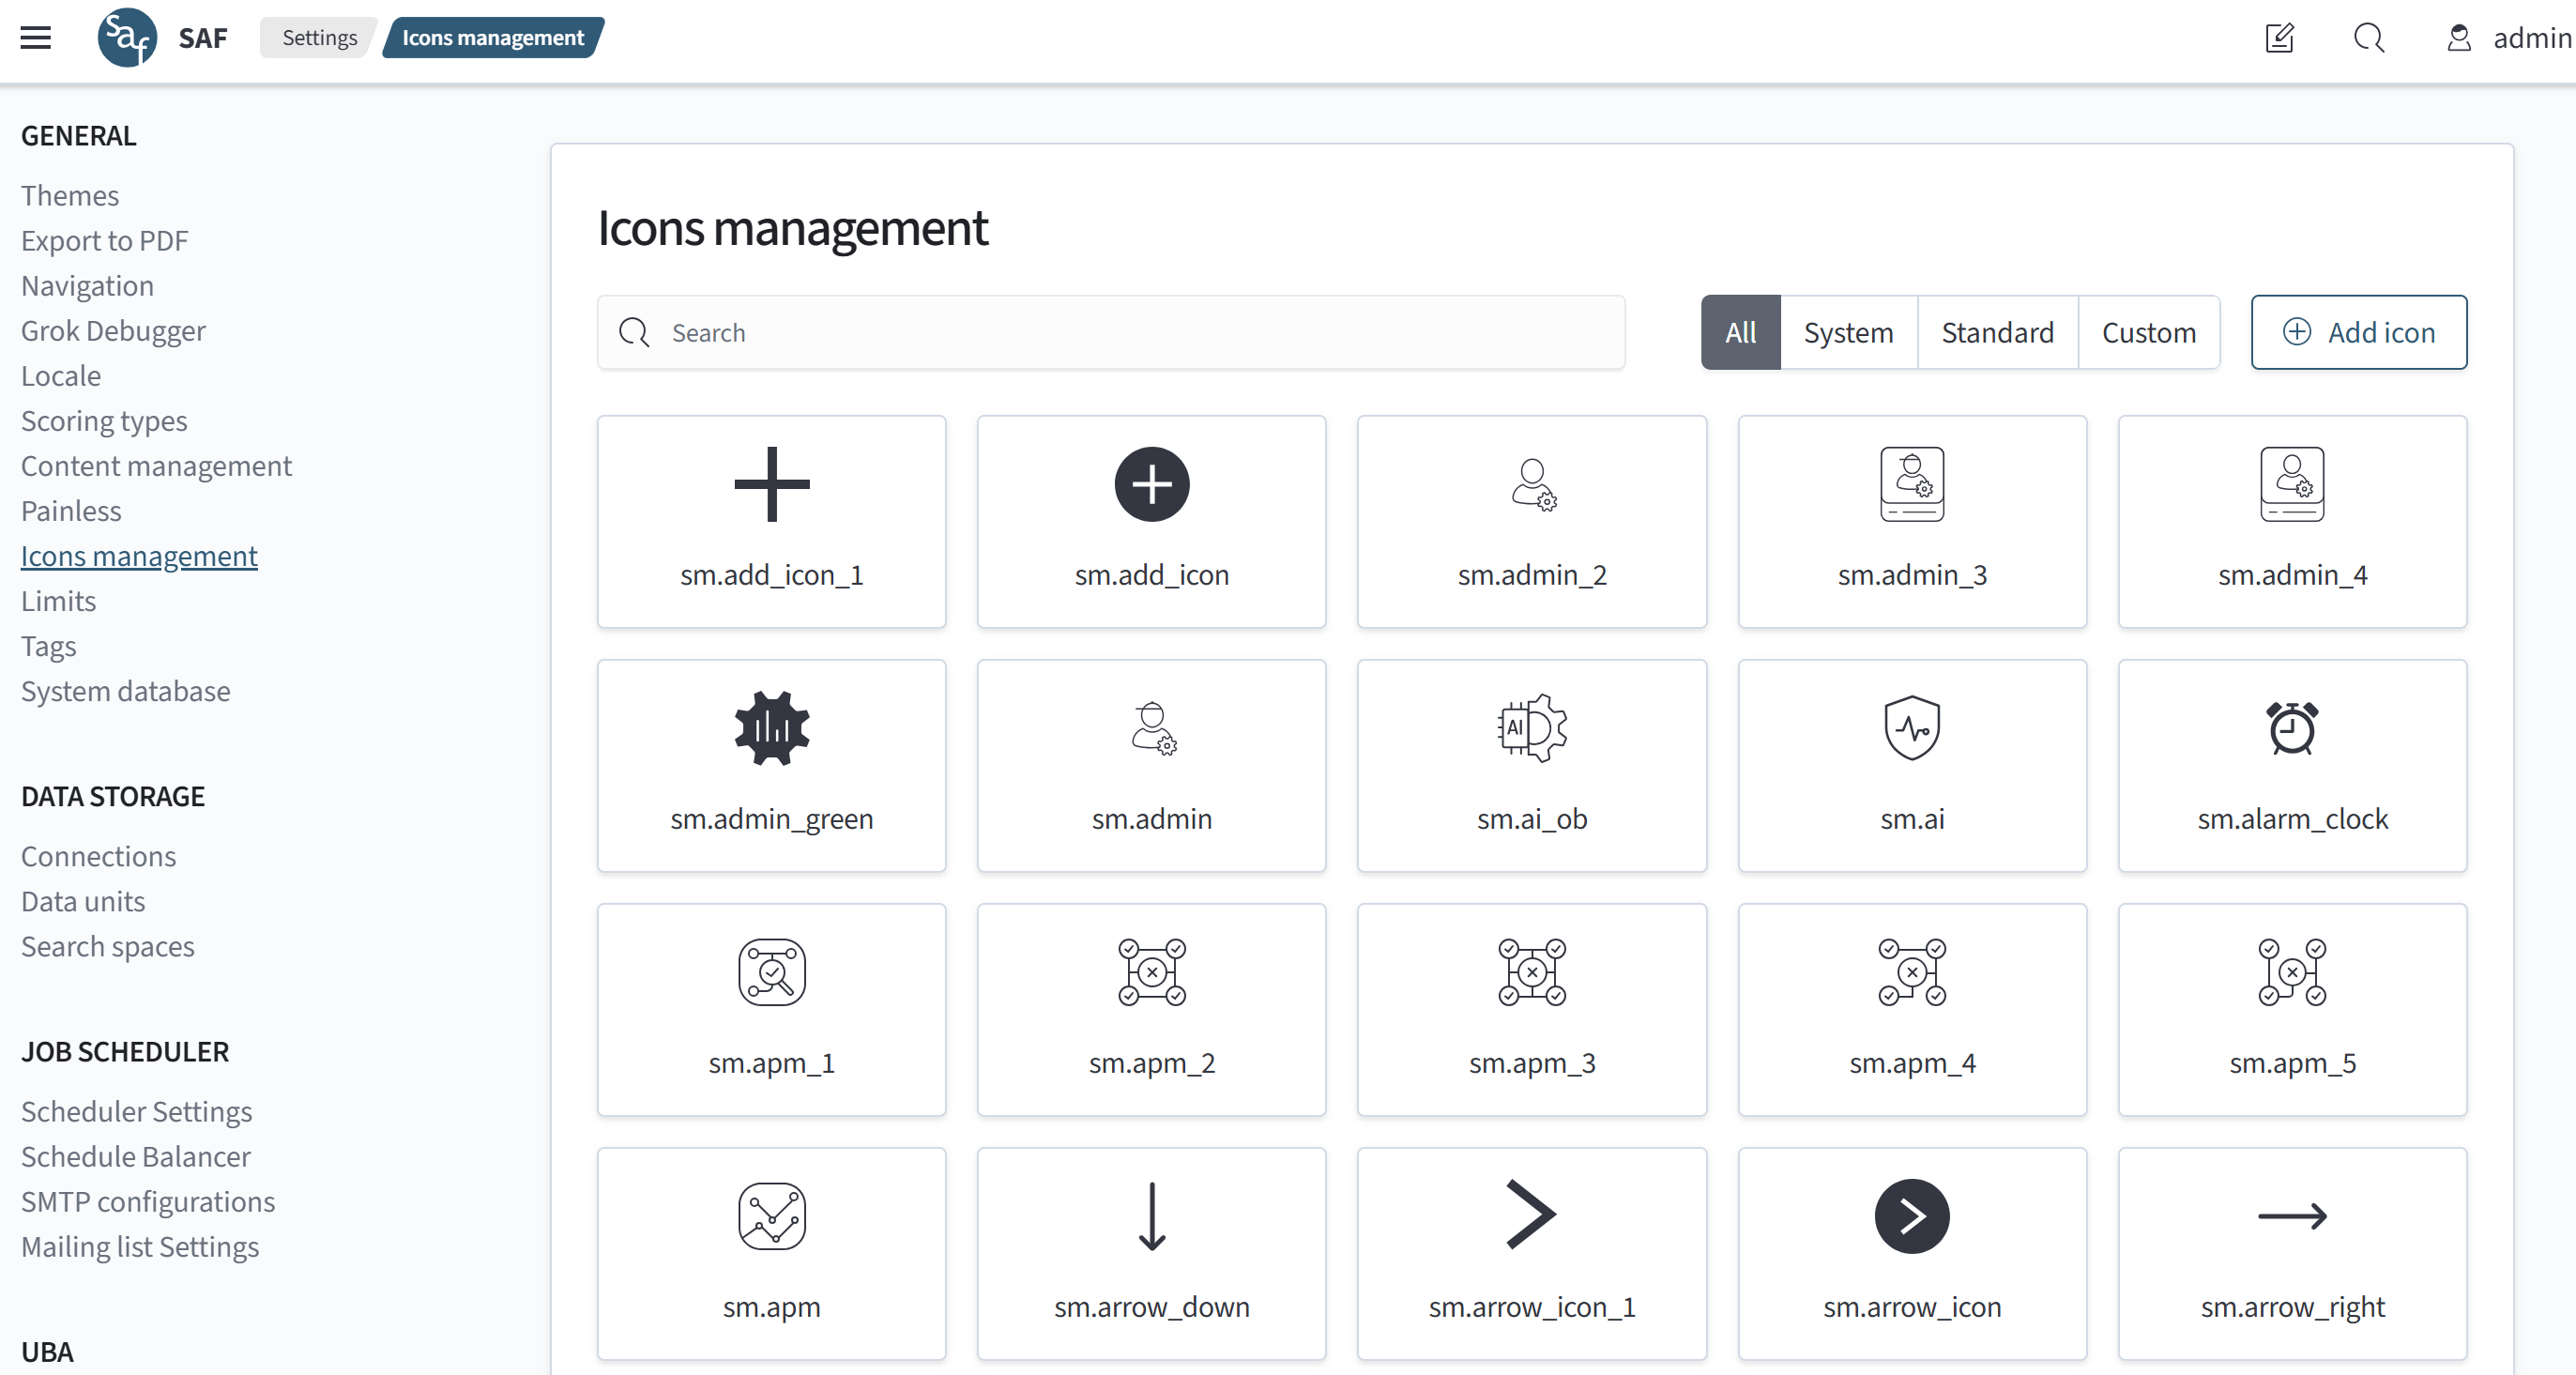
Visualizations can use standard, system, and custom icons available on the Icon Management page.
To copy an icon name for use in a visualization, click its card. The name is copied to the clipboard.
Add a Custom Icon
You can add custom icons that meet the requirements:
- Go to
Main Menu-Settings-Module Settings-Icon Management - Click
Add Icon - In the modal window, select an
SVGorPNGicon file that meets the requirements - Enter a name for the custom icon
- Click
Add Iconin the modal window
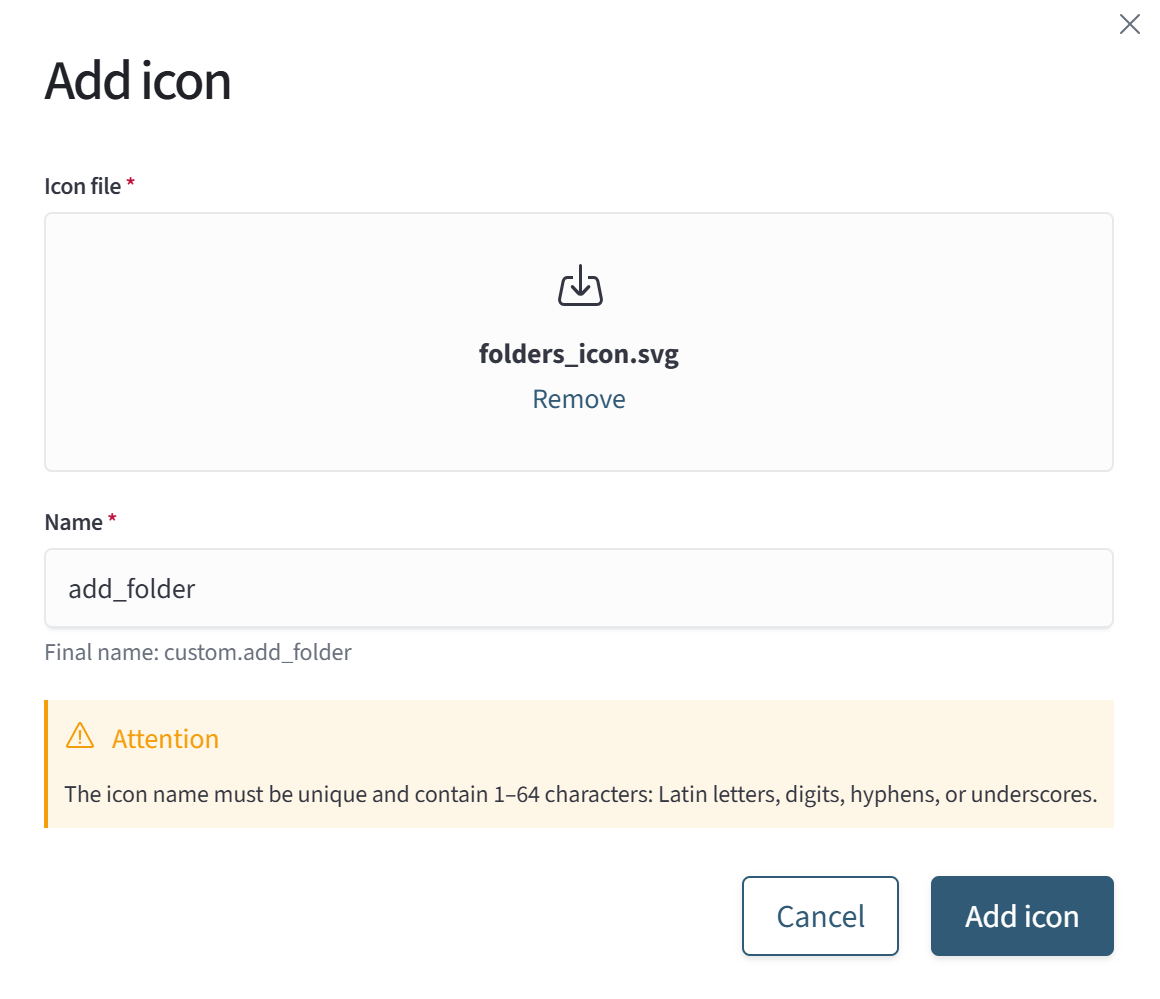
The icon name must be unique and contain 1 to 64 characters: Latin letters, digits, hyphens, or underscores.
Rename a Custom Icon
To rename a custom icon:
- Go to
Main Menu-Settings-Module Settings-Icon Management - Hover over the card of the custom icon
- Click the button with the
pencilicon
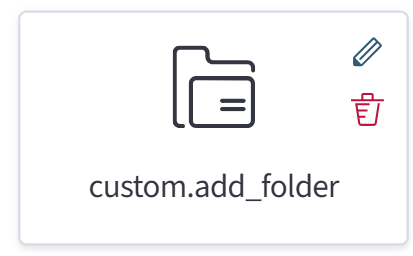
- In the modal window, change the custom icon name
- Click
Rename Iconin the modal window
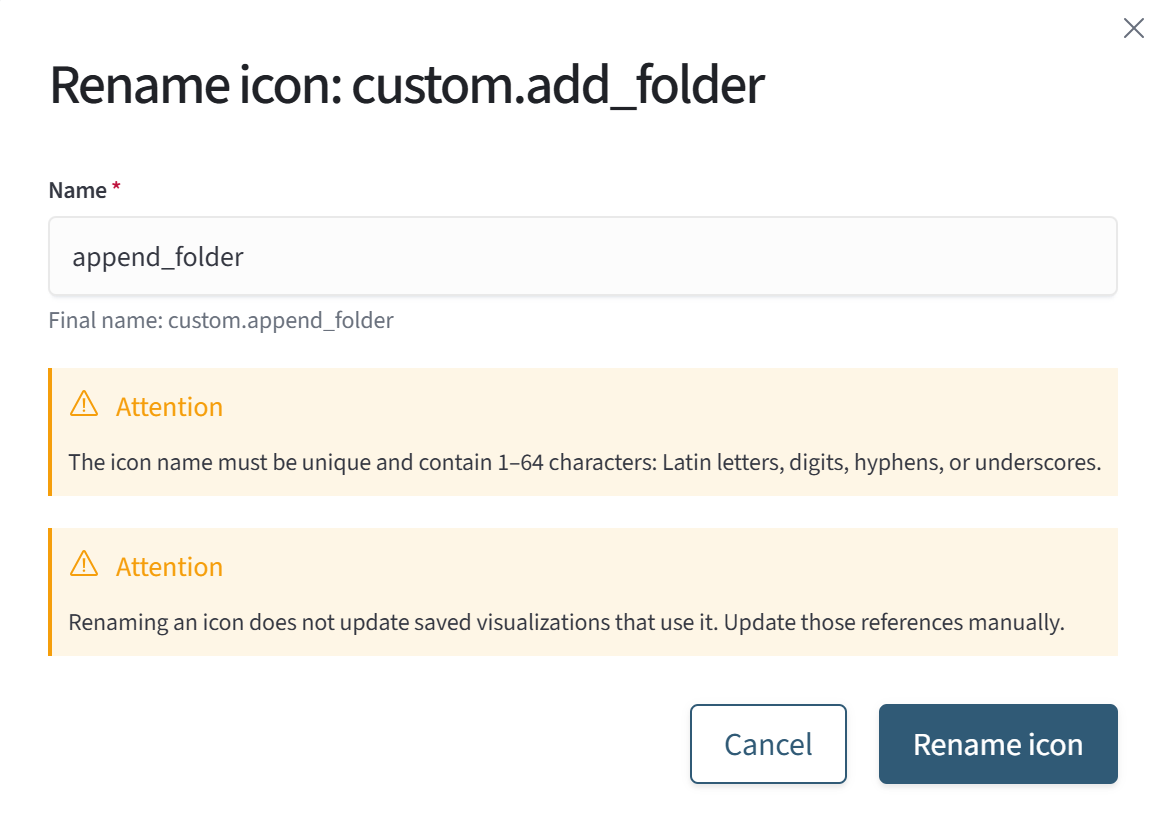
The icon name must be unique and contain 1 to 64 characters: Latin letters, digits, hyphens, or underscores.
Renaming an icon does not update saved visualizations that use it. Update the references manually.
Delete a Custom Icon
To delete a custom icon:
- Go to
Main Menu-Settings-Module Settings-Icon Management - Hover over the card of the custom icon
- Click the button with the
trashicon
- In the confirmation modal, click
Delete Icon
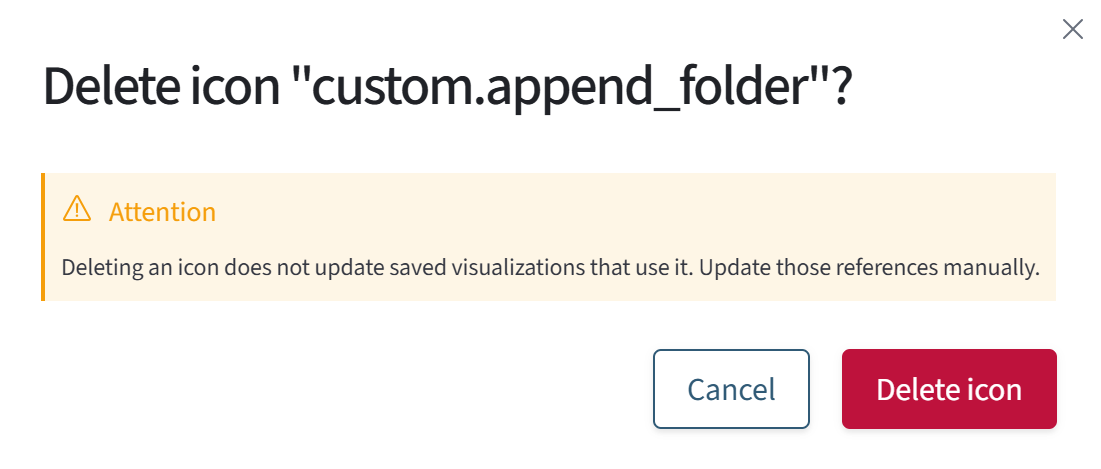
Deleting an icon does not update saved visualizations that use it. Update the references manually.
Use Icons in Visualizations
Visualizations can use standard, system, and custom icons available on the Icon Management page. The sections below describe each type.
Supported visualizations:
Use Standard Icons in Visualizations
Standard icon names are used directly in visualizations without a prefix, for example, layers.
Use System Icons in Visualizations
A system icon name used in a visualization consists of the following parts:
- the
sm.prefix - the system icon's base name
A system icon name has the format sm.<base name>, for example, sm.admin.
Use Custom Icons in Visualizations
A custom icon name used in a visualization consists of the following parts:
- the
custom.prefix - the custom icon's base name (when added through the graphical interface) or the file's base name (when added over SSH)
A custom icon name has the format custom.<base name>, for example, custom.icon_name.
If the custom icon directory contains files with the same name but different PNG and SVG extensions, the icon from the SVG file is used. This can happen when adding custom icons over SSH.
Custom Icon File Location
By default, custom icon files are stored in the /assets/custom-icons/ directory of the SmartMonitorCoreVisualizations plugin.
When the default icon directory is used, reinstalling the SmartMonitorCoreVisualizations plugin clears its contents. To prevent this, specify a different custom icon directory outside the plugin.
To change the custom icon directory:
- set an absolute path in the
smart_monitor_core_visualizations.customIcons.directoryparameter in theopensearch_dashboards.ymlconfiguration file - set the directory owner to the
opensearch:opensearchuser and group - make sure
opensearch:opensearchhas read and write permissions for the directory
Icons in SVG and PNG formats are supported if they meet the requirements. Files with other extensions are ignored and are not included in the custom icon set.
Manage Custom Icons over SSH
You can manage custom icons over SSH. For icons to display correctly, their files must meet the requirements.
If a file does not meet the requirements or an error occurs while reading it, the custom icon is replaced with the alert icon (an exclamation mark inside a triangle).
Add and Delete Custom Icons over SSH
To add a custom icon, place its file in the directory specified in Custom Icon File Location.
To delete a custom icon, remove its file from the directory specified in Custom Icon File Location.