Setting up SP client
Overview
The interface shown in the image represents the Setting up SP client page, which allows editing the list of clients for connecting to the cluster.
On the left is the Client List, and on the right are the configuration fields for the selected client.
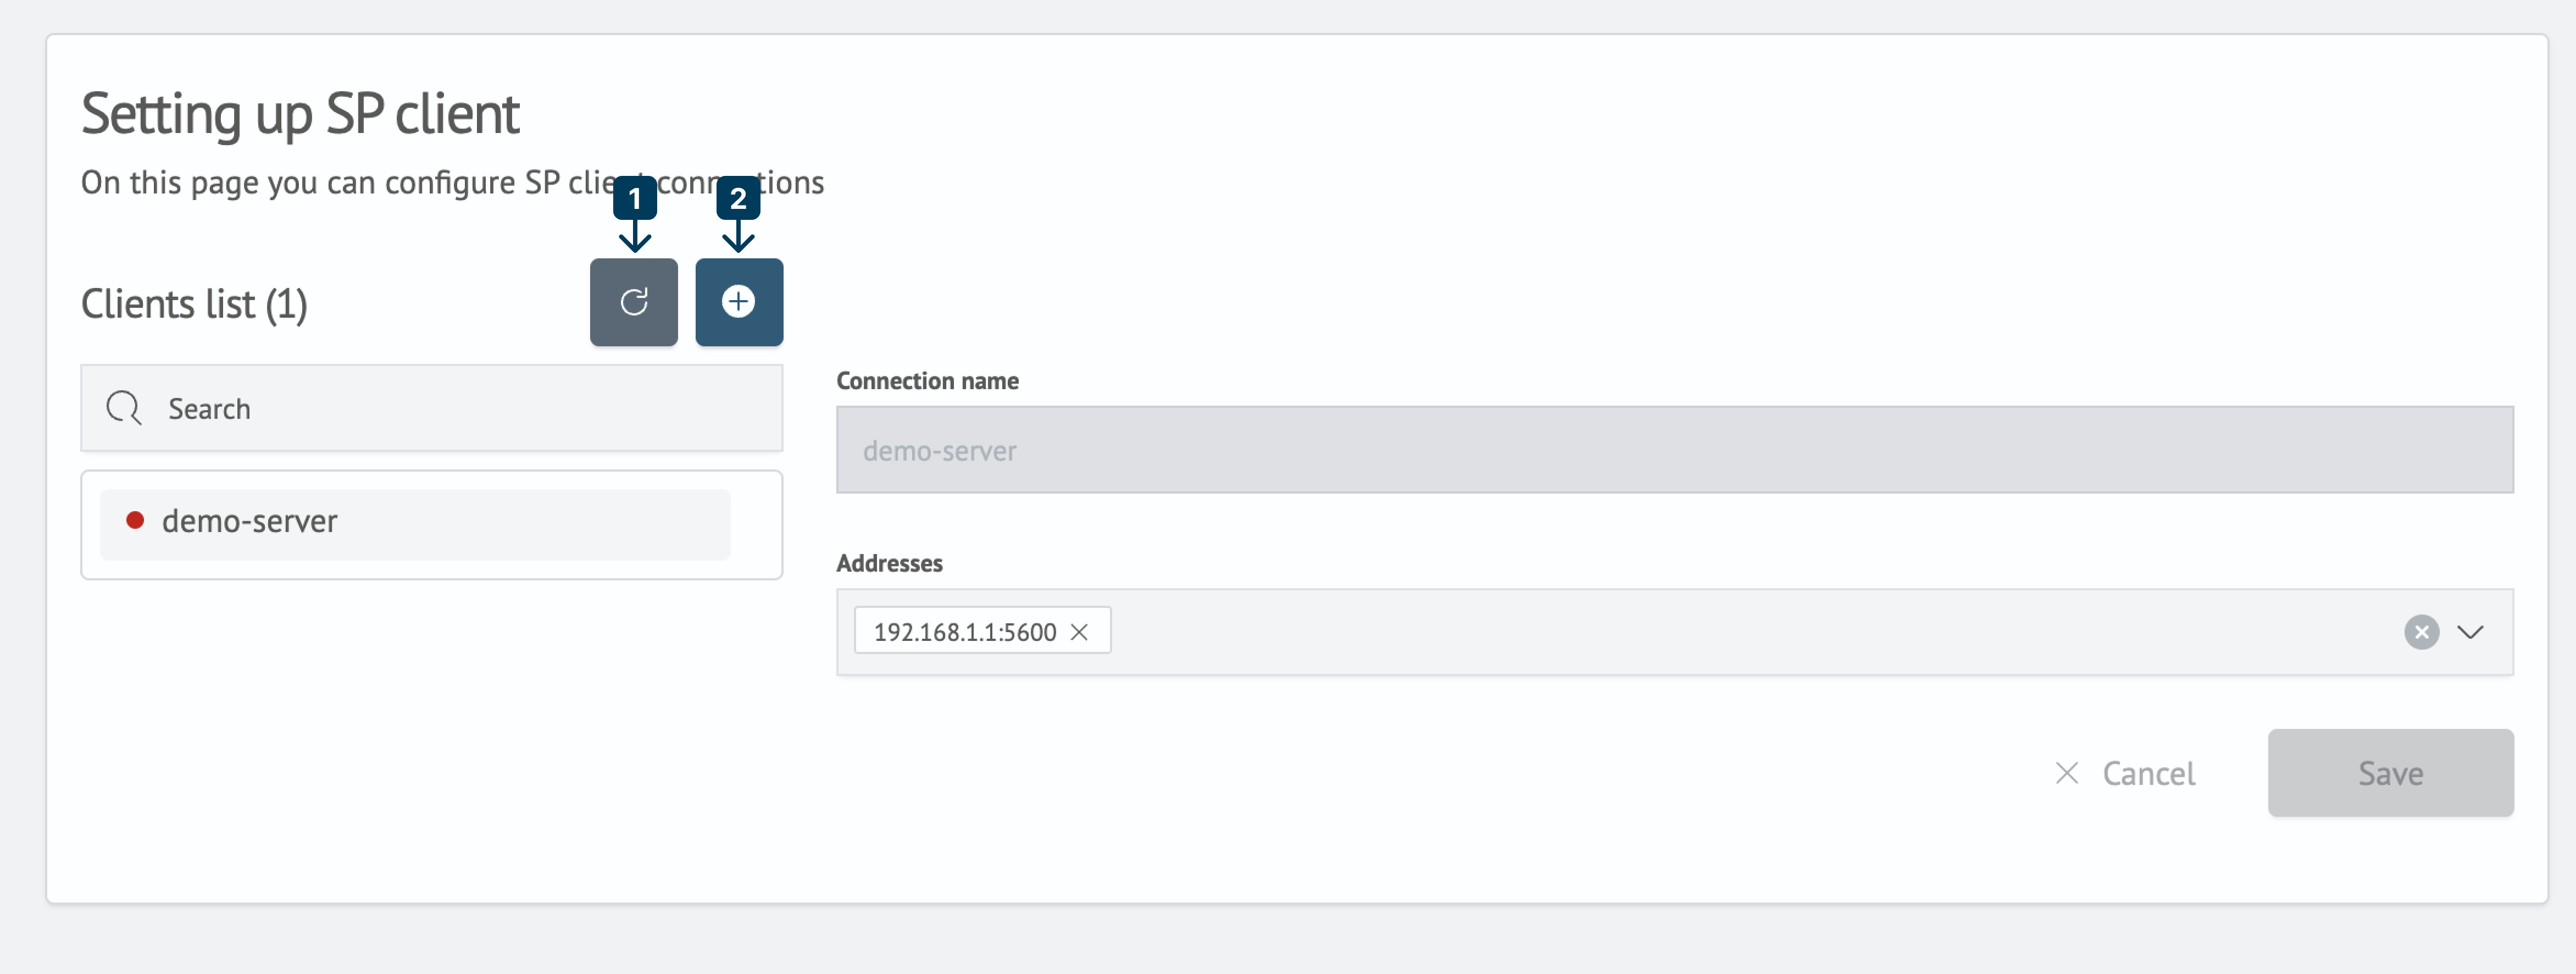
The Clients List header includes two buttons:
- Refresh button (icon) – used to update client statuses
- Add button (+ icon) – used to create a new client.
Updating Client Statuses
To refresh client statuses, click the refresh button (1) next to the Clients List header.
Creating a New Client
To create a new client, click the add button (2) with the (+) icon next to the Clients List header.
Configuration fields will appear on the right side, which must be filled in:
- Connection Name – specify the connection name.
- Addresses – enter the IP and port or DNS name and port for the connection.
The connection name can only be modified during creation. It cannot be changed afterward.
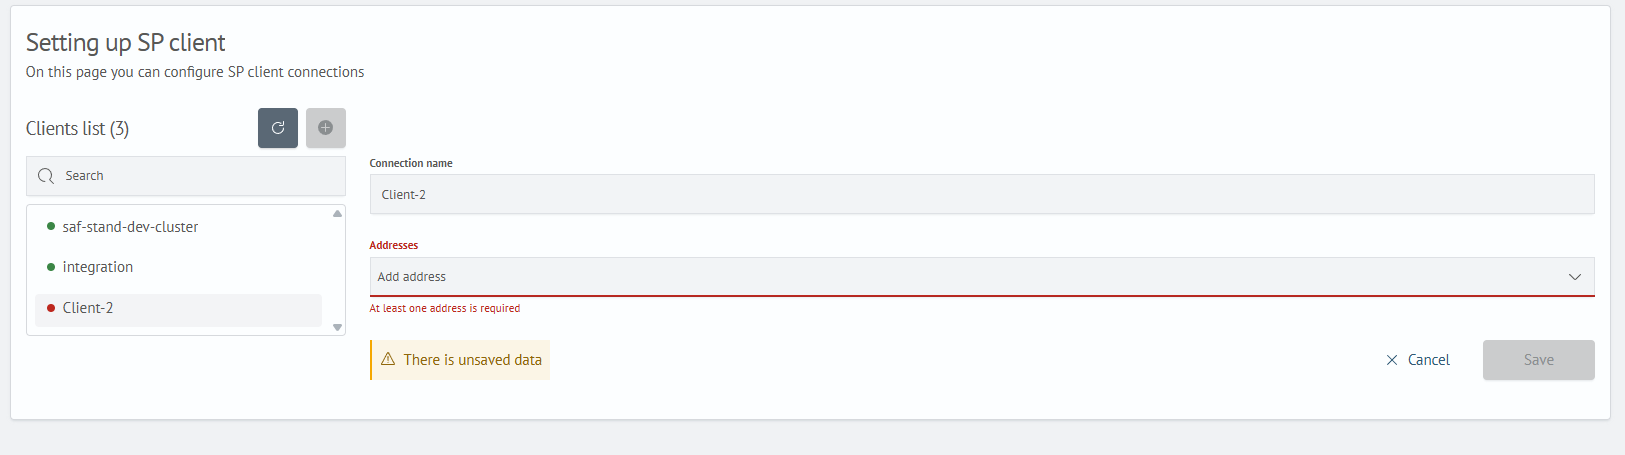
Modifying a Client Address
To make changes, select the desired client from the list and update the values in the Addresses field.
When editing the Addresses field, a warning about unsaved changes will appear.

Deleting a Client
To remove a client from the list, hover the mouse cursor over its name. A red cross icon will appear to the right of the name — click it to delete the client.
