Notebooks
General Information
The Notes module is designed for capturing any information while working within the system — for example, during incident investigations. A note is structured into blocks of different types.
Block types:
Text- a text block that supportsmarkdownSearch- a block forSLsearch queriesIncident- a block containing an incident from theIncident ManagerActive- a block with an asset from the Inventory moduleAttachment- a block where you can attach files to the noteImage- a block where you can attach images to the note
When you navigate to Main Menu - Knowledge Center - Notes List, you will see a list of all notes available in the system.
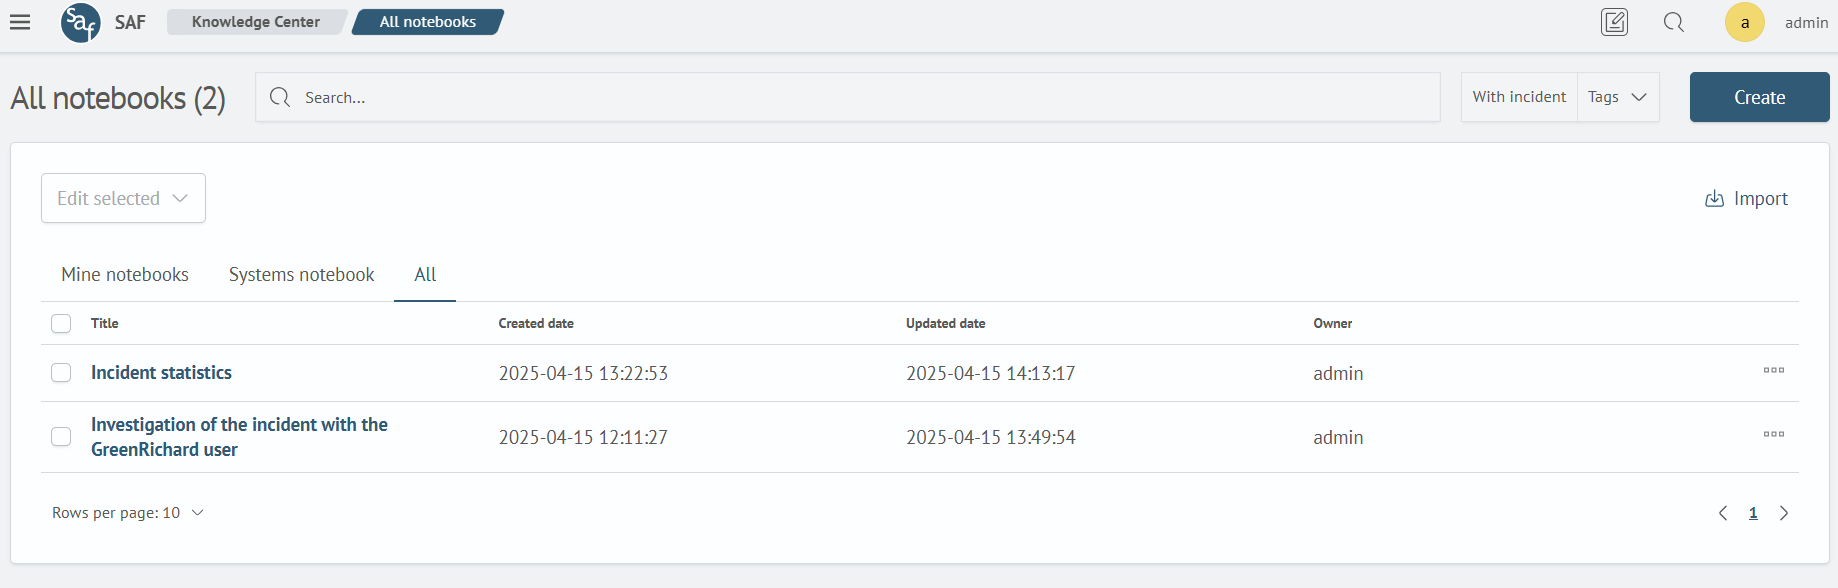
You can filter notes by tags, by the presence of an incident block, and by type: mine notebooks or systems notebook.
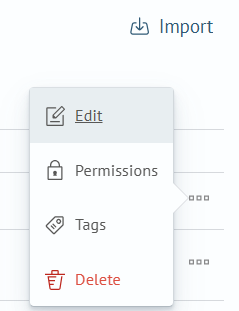
Access rights and tags can be configured for a note, just like for other Search Anywhere Framework objects.
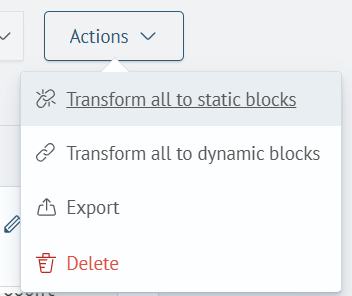
Blocks of types Incident, Active and Search are dynamic by default, meaning they display up-to-date information currently available in the system. However, these blocks can be converted to a static state, meaning the block's data will be "frozen" and will no longer update.
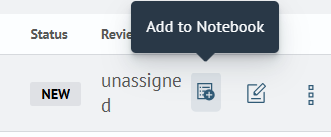
The system provides a Quick note, feature, which allows you to create a new note containing a text block directly from any module. The note automatically records the source — the page from which the quick note was initiated. Additionally, when creating a quick note, the user can attach screenshots.

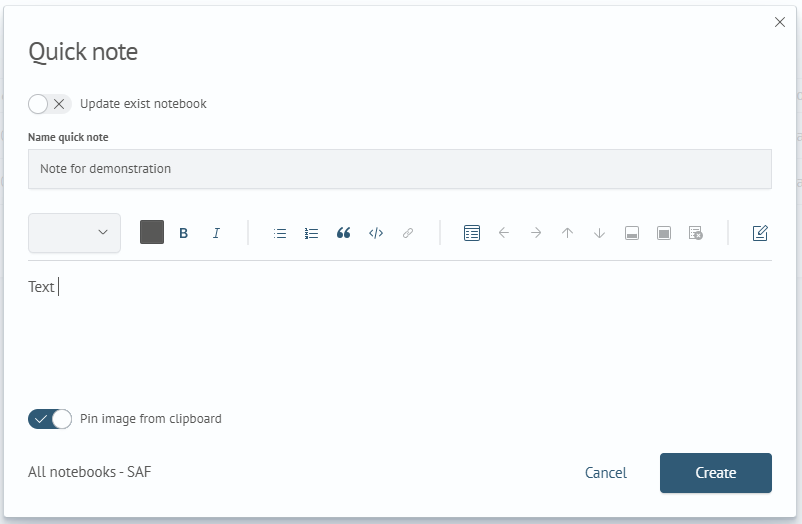
In this example, a quick note is created from the Dashboards module and includes a text block as well as an Image block, since the Pin image from clipboard.
To add a new block to an existing note, you can use one of the following methods:
– click the plus button in the lower right corner of the note interface
– enter text into the bottom input field and press Enter (the button is to the left of the plus icon)

You can also rename a note.

More About Blocks
Examples of interacting with blocks based on a text block.
To add a new block to a note, click the plus button in the bottom-right corner and select the desired block type from the list.

A new empty block will be added.
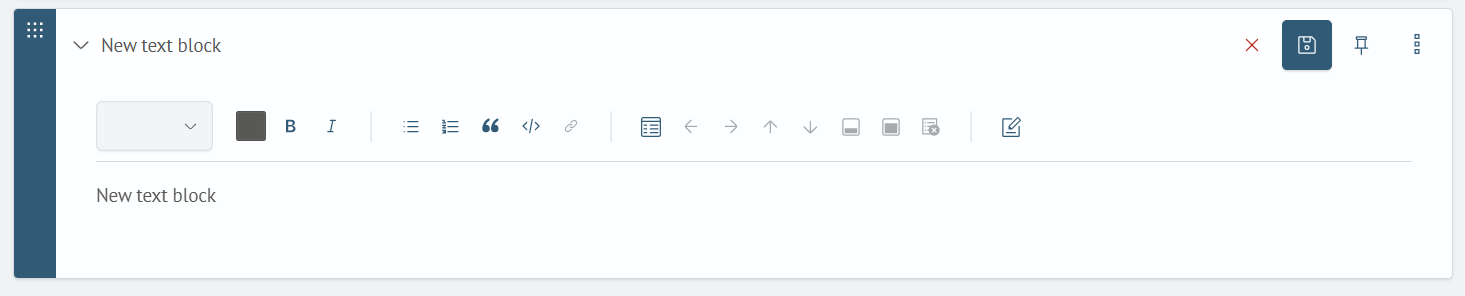
After filling it out, click the save button in the top-right corner.
To cancel saving the block, simply click the cross (×) in the top-right corner.
To edit an existing block, click the edit button in the top-right corner.

You can also pin the block to the top of the note.

Block 'Text'
The core functions of this block were covered in the previous section, which explains working with blocks. However, there are features specific to this block.
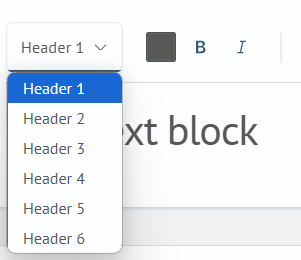
The text block can be edited in markdown.

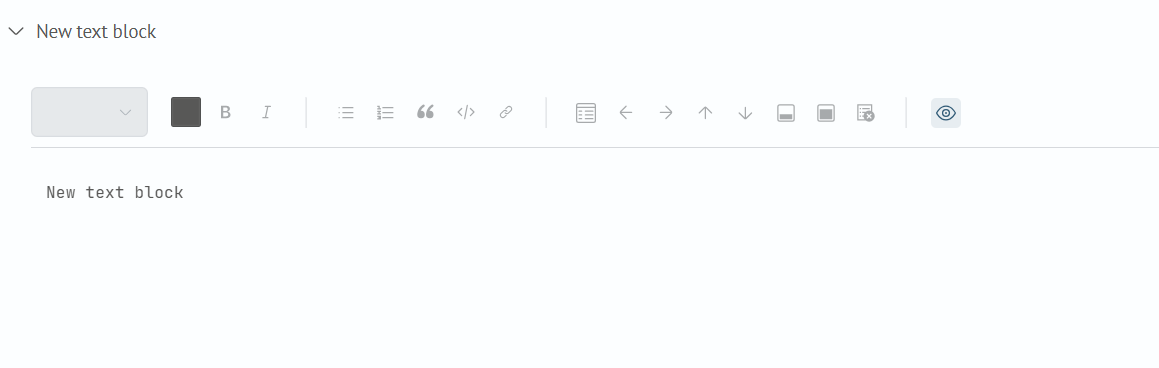
It also supports all basic text editor functions.
Block 'Search'
You can add a search query to a note.
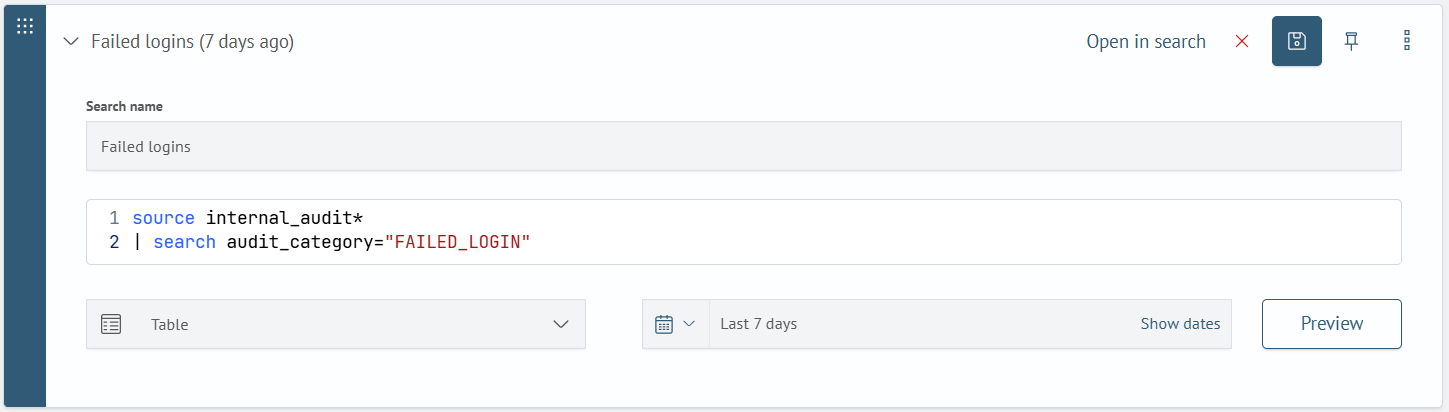
When adding or editing a query, you can modify its name, visualization type, and time range.
Before saving the block, click the Preview button to see how the query will be displayed.

The search block can be made static, in which case it will remain in the note in its current state.
Clicking Open in search in the top options will open this search—with all its settings—on the Search Anywhere Framework search page.

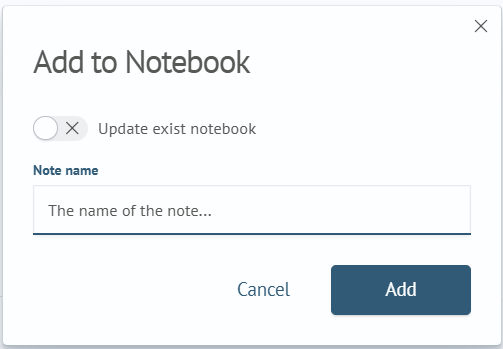
You can also add a search to a note directly from the search page.

Clicking this button opens a configuration window to choose whether to add the search to a new or an existing note.
Block 'Incident'
To add an incident to a note, specify its ID.

Alternatively, navigate to the Incident Manager and add an incident from there.
The incident block can be made static, preserving its current state in the note.
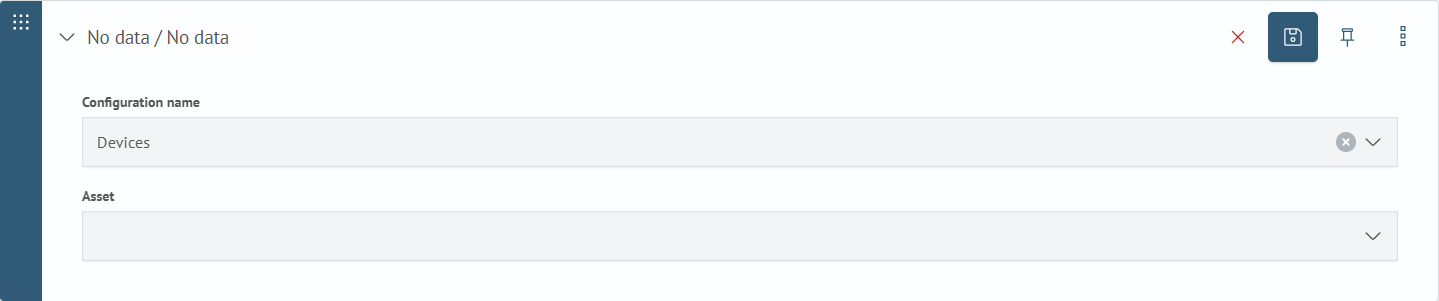
Block 'Active'
You can add an asset from the Inventory module to a note.
To do this, select the appropriate configuration from the list. The asset list will then display all assets belonging to that configuration. The list includes a search function that lets you quickly find the required entry.

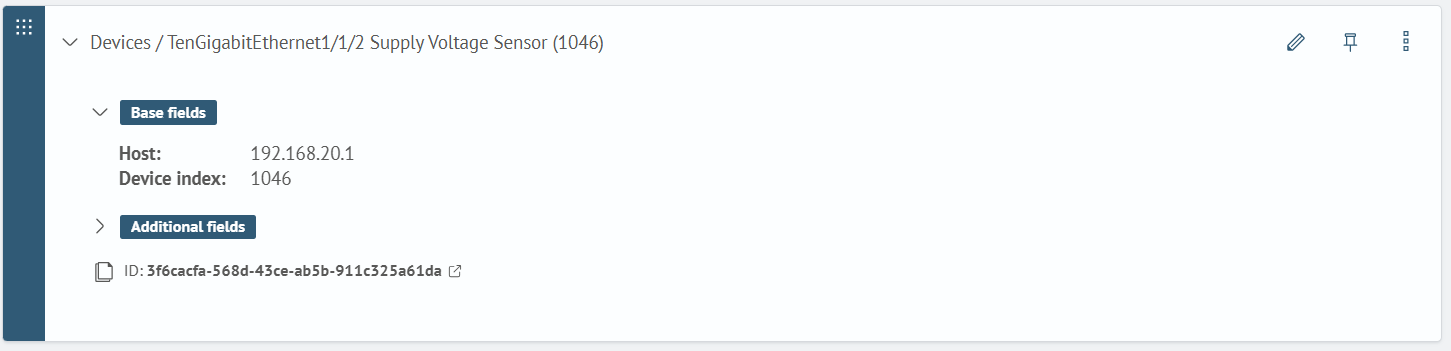
Example of a saved asset (the name combines the inventory configuration name and the asset name).
Assets can also be added to a note from the asset details page.

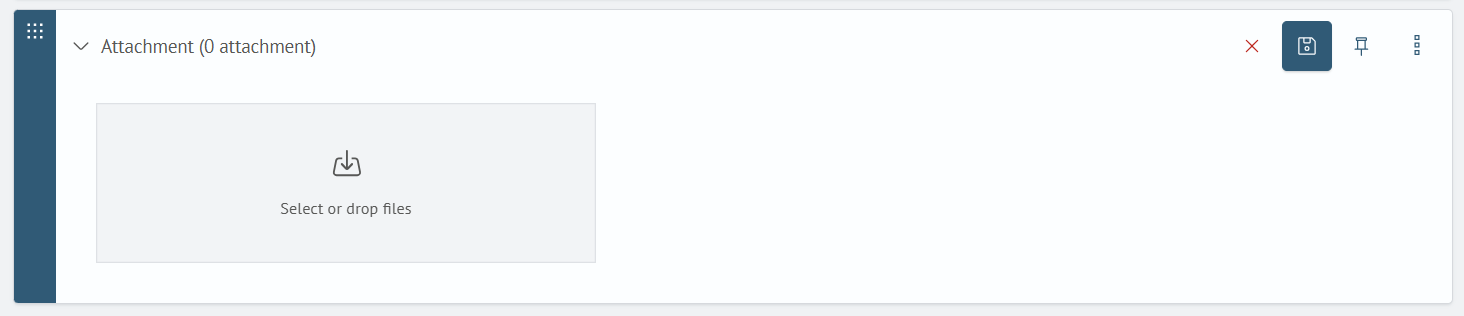
Block 'Attachment'
To add files, you need to add an Attachment block and attach files to it.
Block 'Image'
To add a picture to a note, you need to add an Image block and attach the necessary file to it.

Other functions
Using the Actions button located in the upper-right corner of the note, you can set all the blocks as static or dynamic, export the note, or delete it.
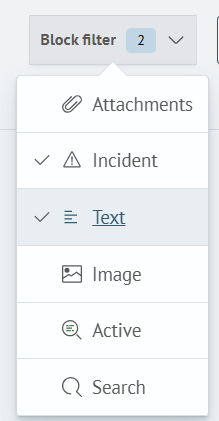
You can also filter the blocks by type inside the note.
Settings
The Knowledge Center module is recommended to be installed only on nodes specified in the SA Web settings. All actions described in this section apply solely to nodes where the module is installed.
To configure, create the /app/opensearch/uploads directory on the SA Data Storage nodes, set permissions for the user running SA Data Storage, and mount a network share to this directory.
sudo -u opensearch mkdir /app/opensearch/uploads
The directory must be shared across all SA Data Storage nodes.
| Setting | Description | Default Value | Setting Type |
|---|---|---|---|
plugins.kwc.max_file_size | Maximum file size that can be uploaded to the server. | 20M | Cluster-wide setting |
plugins.kwc.upload_path | Path to the shared directory for all nodes where files related to notes will be stored. | /app/opensearch/uploads | Cluster-wide setting |
When changing the default value of plugins.kwc.upload_path, the following modifications must be added to the default.policy file:
//NOTEBOOKS
grant {
  permission java.io.FilePermission "{path/to/upload/directory/}-", "read,write,delete";
  permission java.io.FilePermission "{path/to/upload/directory/}", "read,write,delete";
};
For SA Data Storage nodes, the upload_node_attribute must be added to the configuration file to mark nodes where files will be stored. This attribute should be specified in $OS_HOME/config/opensearch.yml (typically /app/opensearch/config/opensearch.yml):
node.attr.upload_node_attribute: true
Nodes with this attribute will create an index for a garbage collector task that checks for files created but not linked to any note. If such files remain orphaned for more than 24 hours, the garbage collector deletes them from the hard drive.